
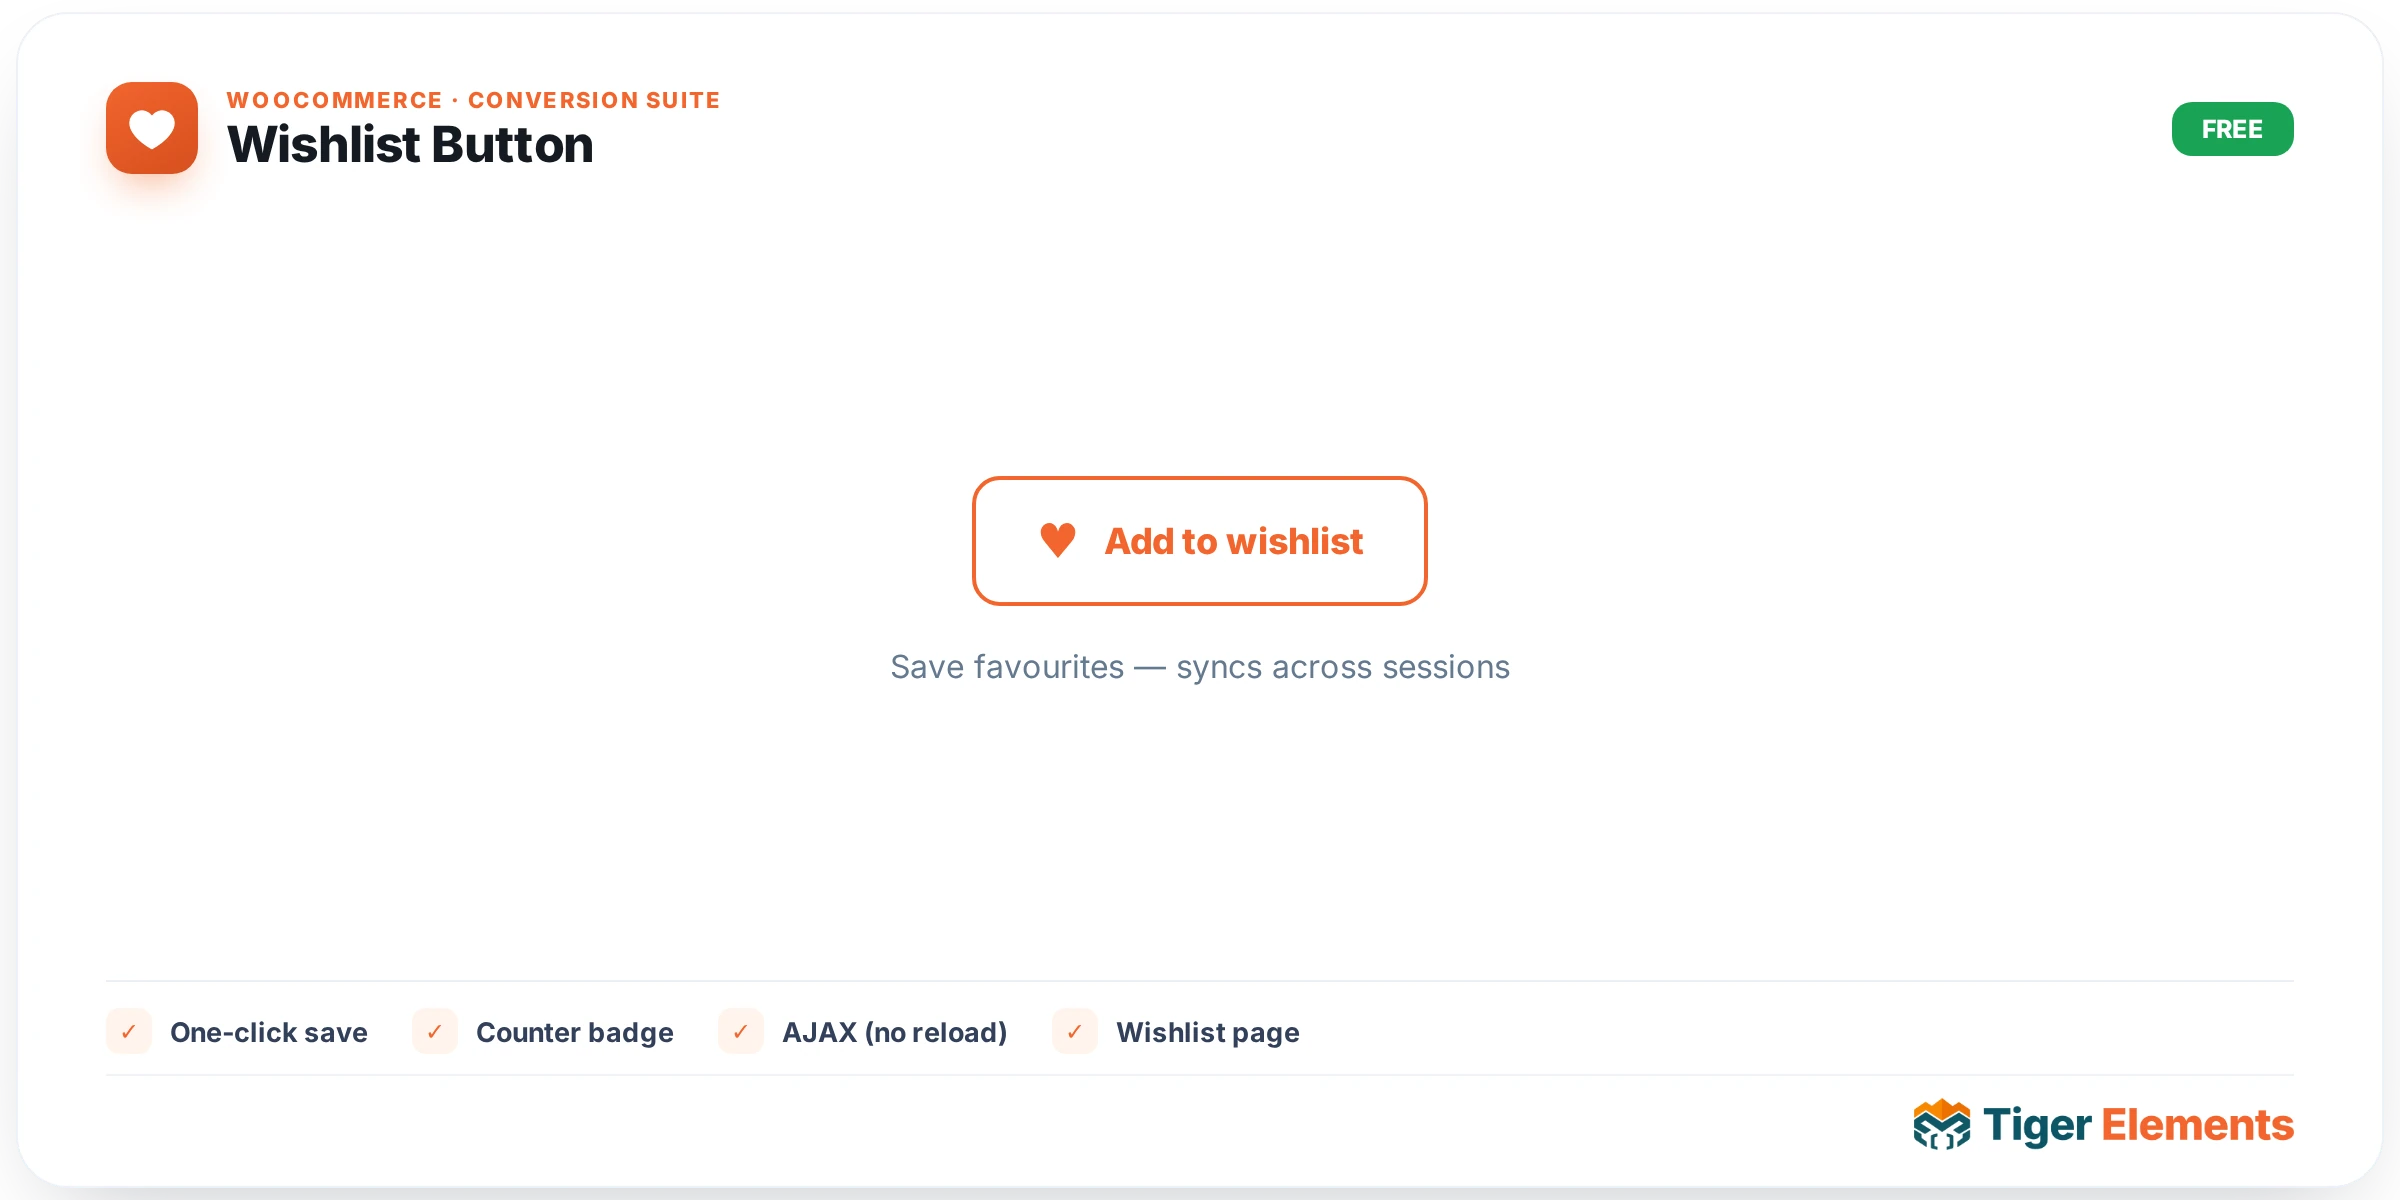
The Wishlist Button is the "Add to Wishlist" heart shoppers click on a product — the trigger half of Tiger’s wishlist feature, paired with the Wishlist Page widget that lists everything a visitor has saved. Together they’re part of the free WooCommerce Conversion Suite, and require WooCommerce active plus the WooCommerce Conversion module switched on in Tiger Elements → Settings → Modules.
Where it’s used
You’ll usually meet this button in one of two ways. The easiest is turning it on inside the Tiger Product Grid widget’s Wishlist & Compare section — flip "Show Wishlist Button" on and a heart icon appears on every product card automatically, no extra widget needed. The standalone widget documented here is for placing the button somewhere the grid doesn’t reach: inside a Single-Product Theme Builder template (next to the price and Add to Cart button), or inside a custom product-loop card you’re building by hand with the Dynamic Loop widget.
Setting it up
- Drag the Tiger Wishlist Button widget into a template that has product context — a single-product template, or a loop card. On a page with no product in scope it won’t have anything to attach to.
- Set the Label (default "Add to Wishlist") and the Label When Saved (default "In Wishlist") — the text swaps automatically once the item is added, so the button itself communicates state without any extra UI.
- Toggle Show Heart Icon and choose its Icon Position (left or right of the label) — or turn the icon off entirely for a text-only button.
How saving actually works
The button is a thin UI layer over Tiger’s shared data_stores engine — the same mechanism behind the Compare button. Clicking it fires a nonce-verified AJAX request that toggles the product in the visitor’s wishlist and updates the button’s active state and any 0 badge elsewhere on the page, without a full page reload. Saves work for guests as well as logged-in visitors — a guest’s wishlist is tracked per-visitor, and the moment that visitor logs in or creates an account, their guest-tracked picks are automatically merged into the account. Nothing is lost by browsing before signing in.
Styling
Because the button has three real states, the Style tab gives each one its own tab: Normal (the unsaved state), Hover, and Saved (once the item is in the wishlist) — each with independent color, background, border, and shadow controls, so a "saved" heart can turn solid red or gain a filled background distinct from its resting state.
Practical tips
- Add a
0shortcode to your header so shoppers always see how many items they’ve saved — it stays in sync automatically as items are added or removed anywhere on the site, including from this button. - Design the Saved state to be visually obvious at a glance (a solid fill, a color shift) — the label swap alone is easy to miss on a small icon-only button.
- If you only need the button on grid/archive cards, use the Product Grid’s built-in toggle instead of adding this widget separately — it’s the simpler path for that specific case.
Troubleshooting
The button doesn’t appear at all. Confirm WooCommerce and the WooCommerce Conversion module are both active — the widget renders nothing if either is missing.
Clicking it does nothing. This widget needs product context to know what to save — check that it’s placed inside a single-product template or a product loop card, not a generic page.
A visitor’s saved items disappeared. Guest picks are tracked per-browser; if they cleared cookies or switched devices without logging in, that guest-tracked list doesn’t carry over. Once they create an account or log in, the list is preserved permanently against that account.