
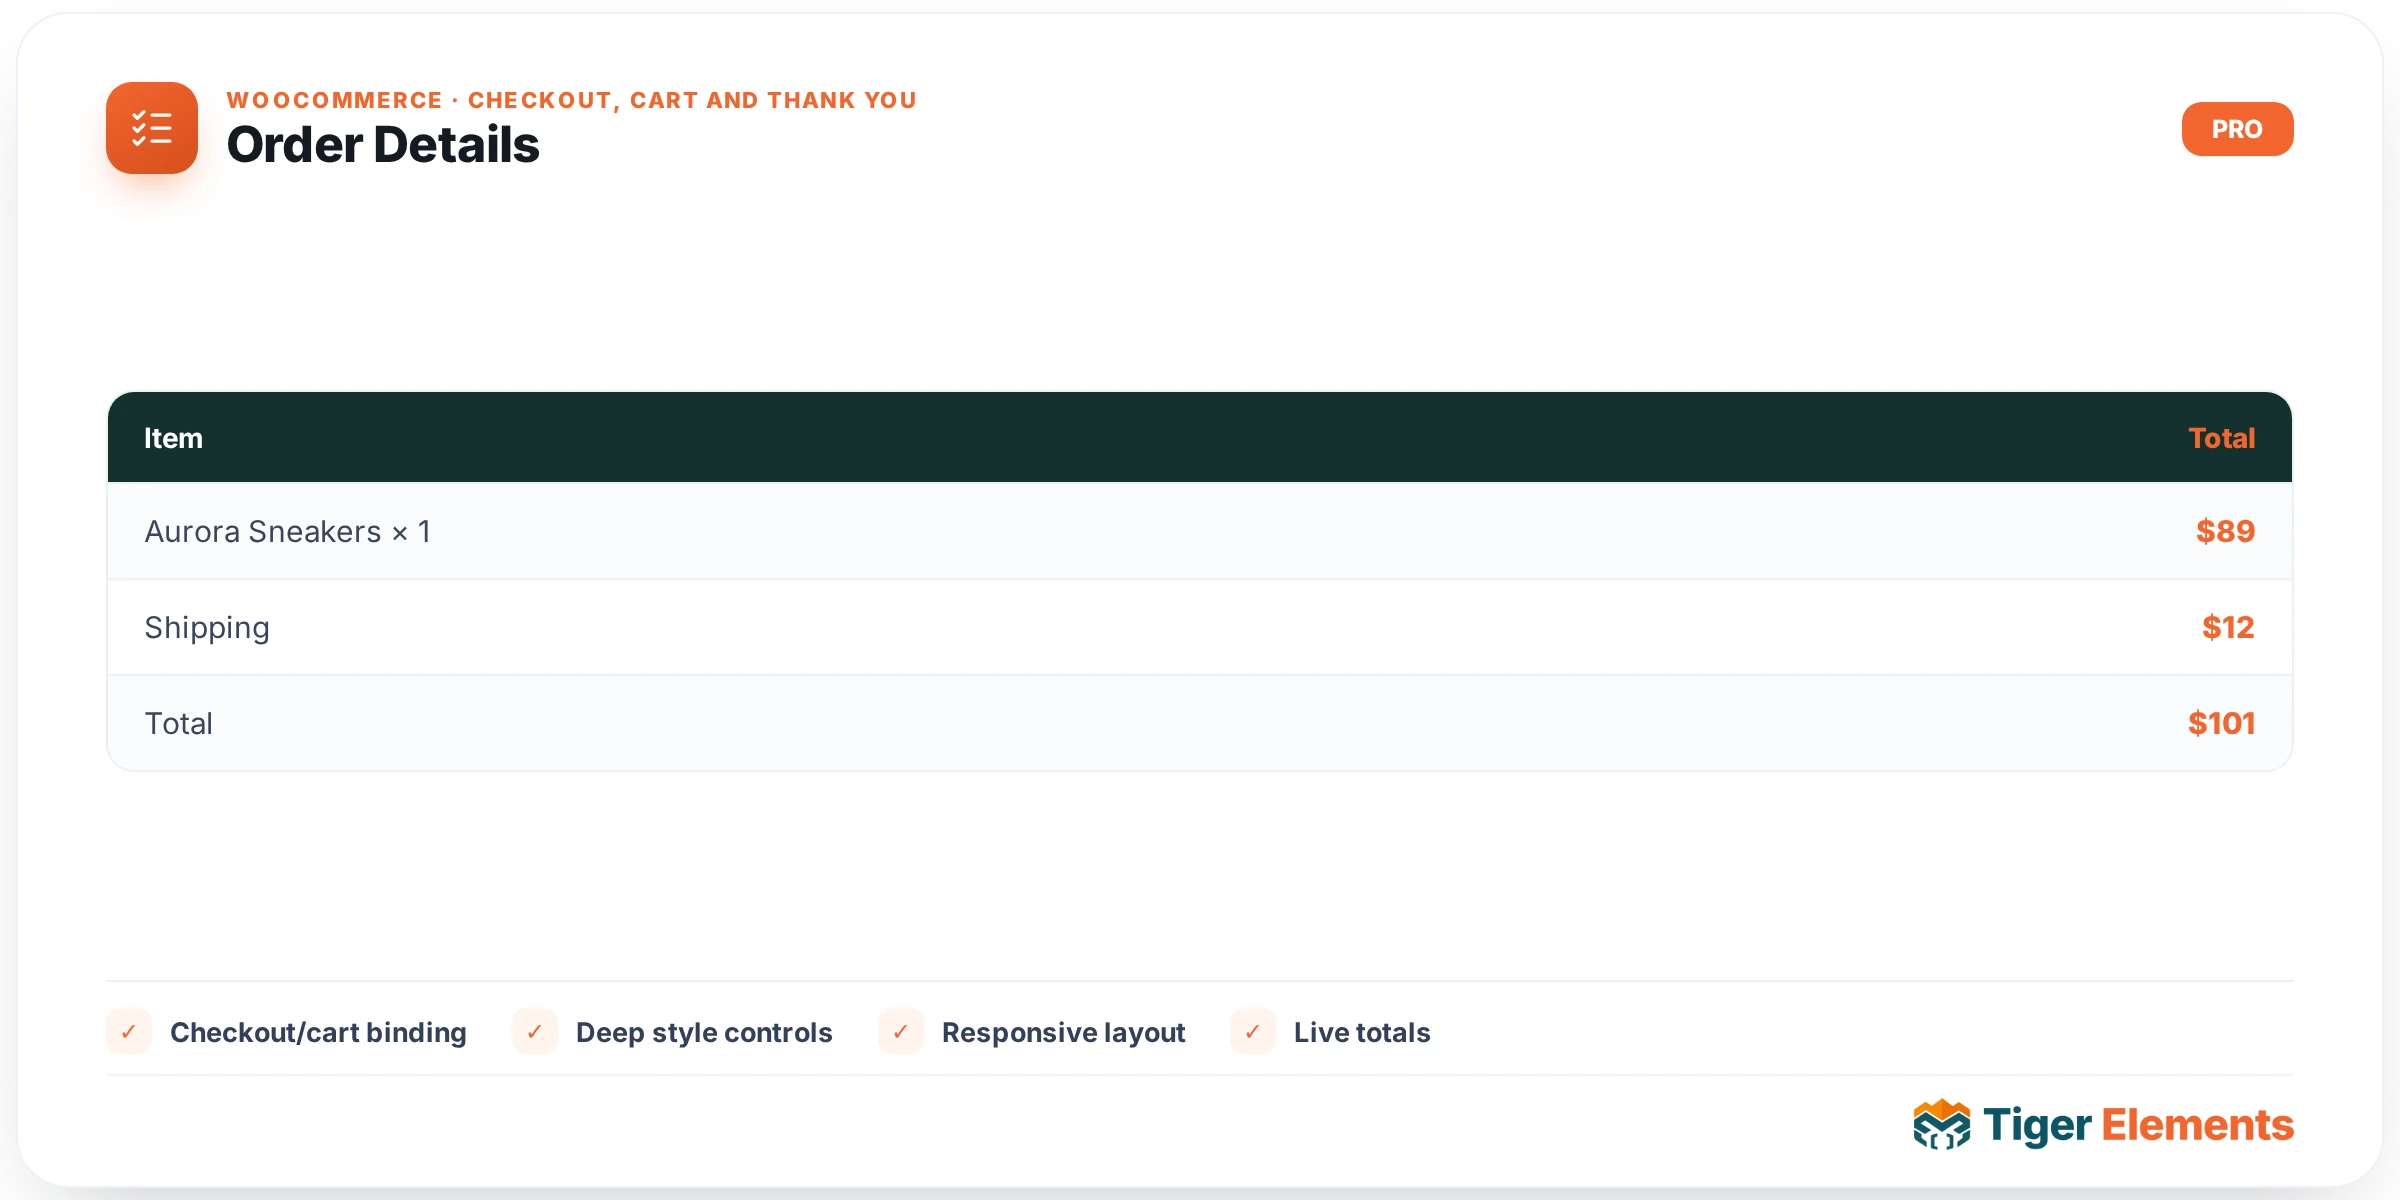
What the Order Details widget does
Order Details is one of four widgets that make up Tiger Elements’ Thank-You / Order Received family, alongside Thank You Heading, Customer Details, and Downloads. Rather than bundling everything into one monolithic “order received” block, Tiger Elements splits the order-received page into composable pieces so you can lay out a custom thank-you page in Elementor: a heading at the top, this widget for the line items and totals, Customer Details for the billing/shipping summary, and Downloads only when you sell digital products. That separation means you can reorder, restyle, or drop any one piece without touching the others — for example, moving Order Details above the heading, or putting Customer Details in a sidebar column next to it.
Under the hood, Order Details renders WooCommerce’s own native order templates rather than a custom re-implementation. Specifically it prints an optional order meta strip via WooCommerce’s checkout/order-received.php template, followed by the full itemized order table via order/order-details.php. Because it defers to WooCommerce’s stock templates, the line items, quantities, subtotals, shipping, taxes, coupons, and the order total all render exactly as they would on a default WooCommerce thank-you page — just wrapped in Elementor’s layout and styling system.
How to set it up
The widget’s content panel has a single control: Show order meta strip (order #, date, total, payment), a switcher that defaults to “yes.” When enabled, WooCommerce’s own order-received meta block (order number, order date, order total, and payment method) is printed above the line-items table. Turn it off if you’re using the separate Thank You Heading widget for that information, or if you want Order Details to render only the raw items table without repeating the order summary line.
Beyond that single toggle, there are no other content or style controls on this widget — it does not pull in the shared field/label style controls from its checkout base class (those exist for the checkout form widgets, not this table). Visual styling of the order table comes from WooCommerce’s own stylesheet and your theme, targetable via Elementor’s custom CSS panel using the standard WooCommerce order-table classes.
Drop the widget onto your Order Received template (built with Tiger Elements or Elementor Pro’s theme builder) and it will automatically pick up the order that WooCommerce has routed the visitor to.
Non-obvious behavior
Order Details only has real data to show when there is an actual order in context. The widget resolves the current order through a shared helper that first checks the order-received query var and the ?order= URL parameter WooCommerce appends to the thank-you URL, and pulls the matching order via wc_get_order(). If neither is present — for instance, if you view the page outside of a real checkout flow — the widget falls back to loading the store’s most recent order, but only while inside the Elementor editor (its edit-mode preview). On the live frontend, if no order can be resolved at all, the widget prints a dashed-border placeholder box reading “No order context” instead of a fatal error or a blank widget.
This means: while editing your Order Received template, you’ll see live data from whatever the last real order in your store happens to be, useful for checking layout against real order sizes — but that preview order isn’t fixed, it changes as new orders come in. On the actual frontend, the widget only ever renders the specific order tied to that thank-you URL; it never leaks another customer’s order data.
When to use this widget vs. related widgets
Use Order Details specifically for the itemized purchase content — what was bought, quantities, prices, shipping, tax, coupons, and the grand total, plus the optional order-number/date/payment meta strip. It is not for customer contact or address information; that’s the job of the companion Customer Details widget, which renders WooCommerce’s billing and shipping address blocks instead. And Order Details does not show download links for digital products even if the order contains them — that’s handled exclusively by the Downloads widget, which only matters at all for stores that sell downloadable products. A typical thank-you page layout stacks Thank You Heading, then Order Details, then Customer Details, then Downloads (if applicable) — but because each is a separate widget, you’re free to reorder or omit any of them per template.
Practical tips
- If you’re already showing order number/date/total in a dedicated heading or summary widget elsewhere on the page, turn off “Show order meta strip” here to avoid repeating the same figures twice.
- Because this widget renders raw WooCommerce markup, styling changes are best made through your theme’s WooCommerce stylesheet or Elementor’s Custom CSS panel targeting the standard
.woocommerce-tableand.order_detailsclasses, not through widget-level style controls (there are none). - When testing layout in the editor, remember the preview pulls your store’s actual latest order — place a real test order first if you want to check how the widget looks with several line items, a coupon applied, or shipping costs, rather than relying on an old order that may only have one item.
- Since the widget silently renders nothing but a placeholder without a real order, always preview the finished template by completing an actual checkout (or using WooCommerce’s order-received URL with a valid order ID) rather than just checking it in the Elementor editor before launch.