
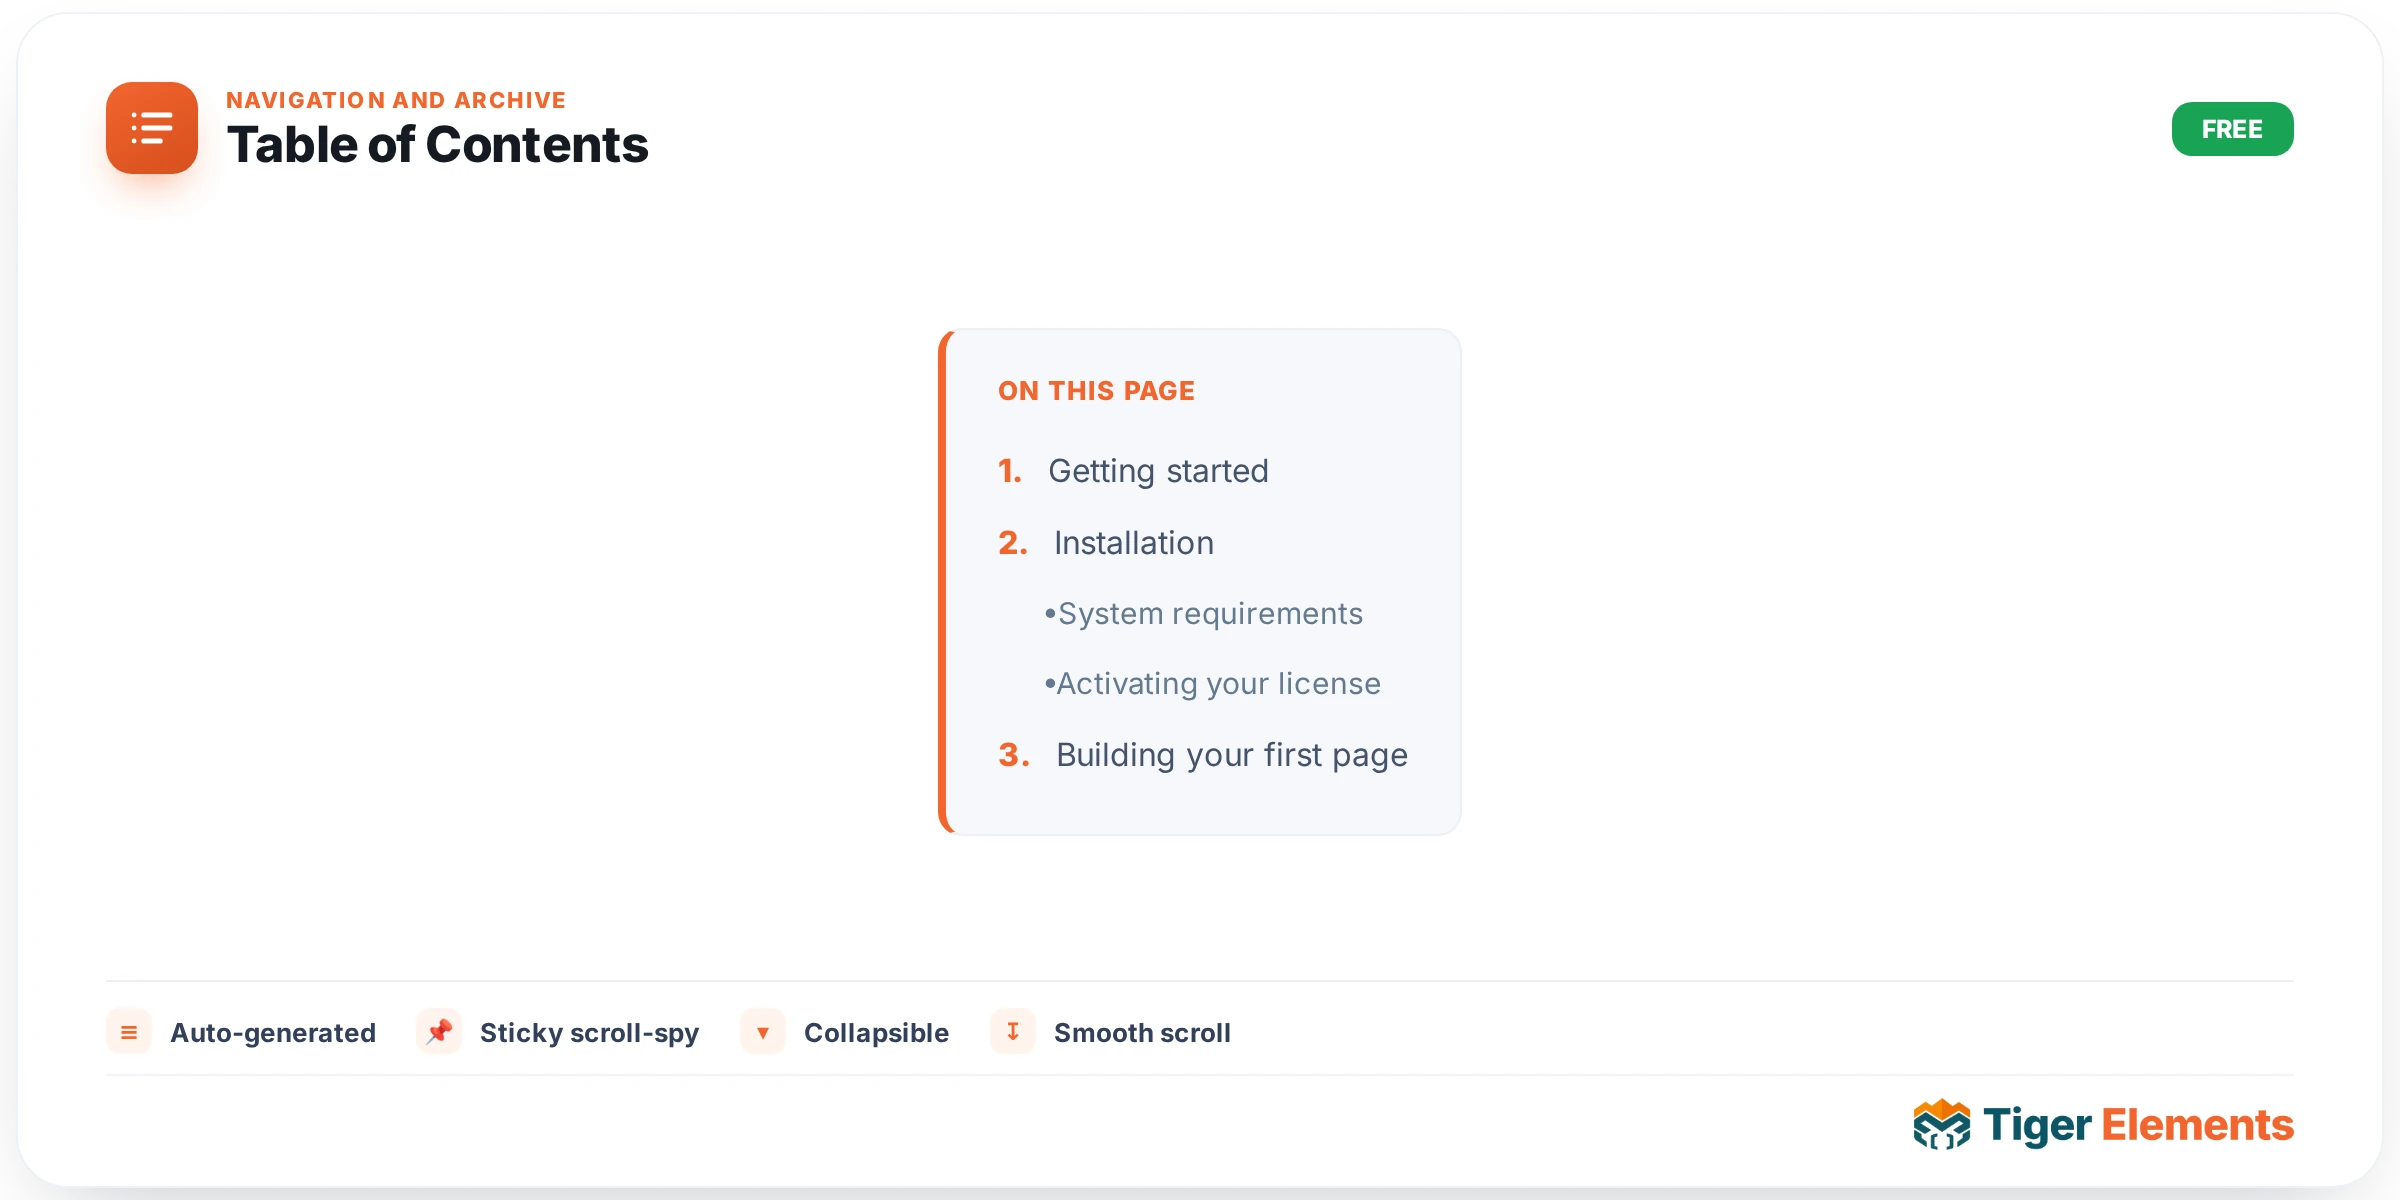
The Table of Contents widget builds a clickable, auto-numbered index of a page’s headings without you ever having to type it out by hand or keep it in sync manually. Drop it once near the top of a long article, product guide, or documentation page, and it scans the surrounding content for headings, turns each one into a link, and smooth-scrolls the visitor there on click. Because it reads the live DOM rather than a saved list, the moment you add, remove, or reorder a heading in your Elementor content, the Table of Contents reflects that on the next page load with zero maintenance.
How it builds the list
On the front end, a small inline script scoped to the widget’s own instance ID looks for the heading tags you’ve told it to track, scoped to the surrounding content area (it climbs up to the nearest .elementor, main, article, or .entry-content wrapper so it never accidentally grabs headings from a theme sidebar or a different section of the page). It deliberately excludes anything sitting inside a header, footer, or nav element, and inside the widget’s own .tiger-toc wrapper, so a heading used in your site header design can never leak into the list. Each matched heading is given a stable, URL-safe ID generated by slugifying its text (lower-cased, non-word characters collapsed to hyphens, capped at 60 characters); if two headings would collide on the same slug, a numeric suffix is appended so links stay unique. Nested list items are indented based on how many levels deep the heading is below H2, so an H4 sits further right than an H3.
Setting it up
In the Content tab, the Title field sets the heading shown above the list — it defaults to “Contents” but can be left blank to hide it entirely. Heading levels is a multi-select where you choose which of H2 through H6 should be picked up; by default only H2 and H3 are tracked, which keeps the list focused on major sections rather than every minor subheading in the article. Markers controls the bullet style of the generated list: Numbers (a numbered outline), Bullets, or None for a plain flush-left list with no marker at all. Turning on Collapsible adds a small toggle arrow next to the title that lets visitors expand or collapse the whole list — useful when the widget sits at the very top of a page and you don’t want it to dominate the first screen a reader sees.
The Highlight current section switch (labeled “scroll-spy” in its description) is on by default and is the feature that makes the widget feel alive rather than static: as the visitor scrolls through the article, the entry matching whatever heading is currently near the top of the viewport gets an is-active class, which by default is styled with the Active link color and a bold weight. This relies on the browser’s IntersectionObserver API, watching a band that spans the top 25% of the viewport, so the highlight updates the instant a new heading crosses into that zone. If no heading happens to sit in that band — for instance while scrolling through a very long paragraph between two headings — the widget deliberately keeps the previously active entry highlighted rather than clearing it, avoiding an ugly flicker where nothing is highlighted at all.
Styling controls
The Style tab exposes Background for the box itself (defaulting to a light gray, #f7f7f9), Link color, Active link color (defaulting to a blue, #2563eb), Title color, and a full Typography group control applied to the link text, so you can match font family, size, and weight to the rest of your content without writing custom CSS.
When to use it
This widget earns its keep on any page where readers need to jump around rather than read top to bottom: long-form blog posts, in-depth tutorials, plugin or theme documentation pages, FAQ pages with many sections, comparison or “ultimate guide” style pages, and legal pages like a privacy policy or terms of service where visitors usually want one specific section. It’s a natural companion to the Reading Progress widget on the same page — one tells the reader how far they’ve scrolled, the other lets them jump anywhere instantly.
Practical tips
- Because the scan happens on the live DOM, be deliberate about which heading levels you check. If your page design uses H2 for cosmetic section dividers as well as real content sections, tracking only H3 downward (or renaming the cosmetic ones to a styled paragraph) will keep the generated list meaningful instead of cluttered.
- Place the widget above the content it indexes — the script is written to run after the DOM is parsed specifically because the TOC block usually sits physically above the headings it lists, so you don’t need to worry about ordering breaking detection.
- If a heading already has a manually-set HTML id (for example one you use elsewhere for a direct anchor link), the script respects it and will not overwrite it, which lets you combine hand-built anchor links with the auto-generated TOC without conflicts.
- Turn on Collapsible for pages where the TOC would otherwise push real content below the fold on mobile, especially in combination with a longer heading level selection that produces a tall list.