
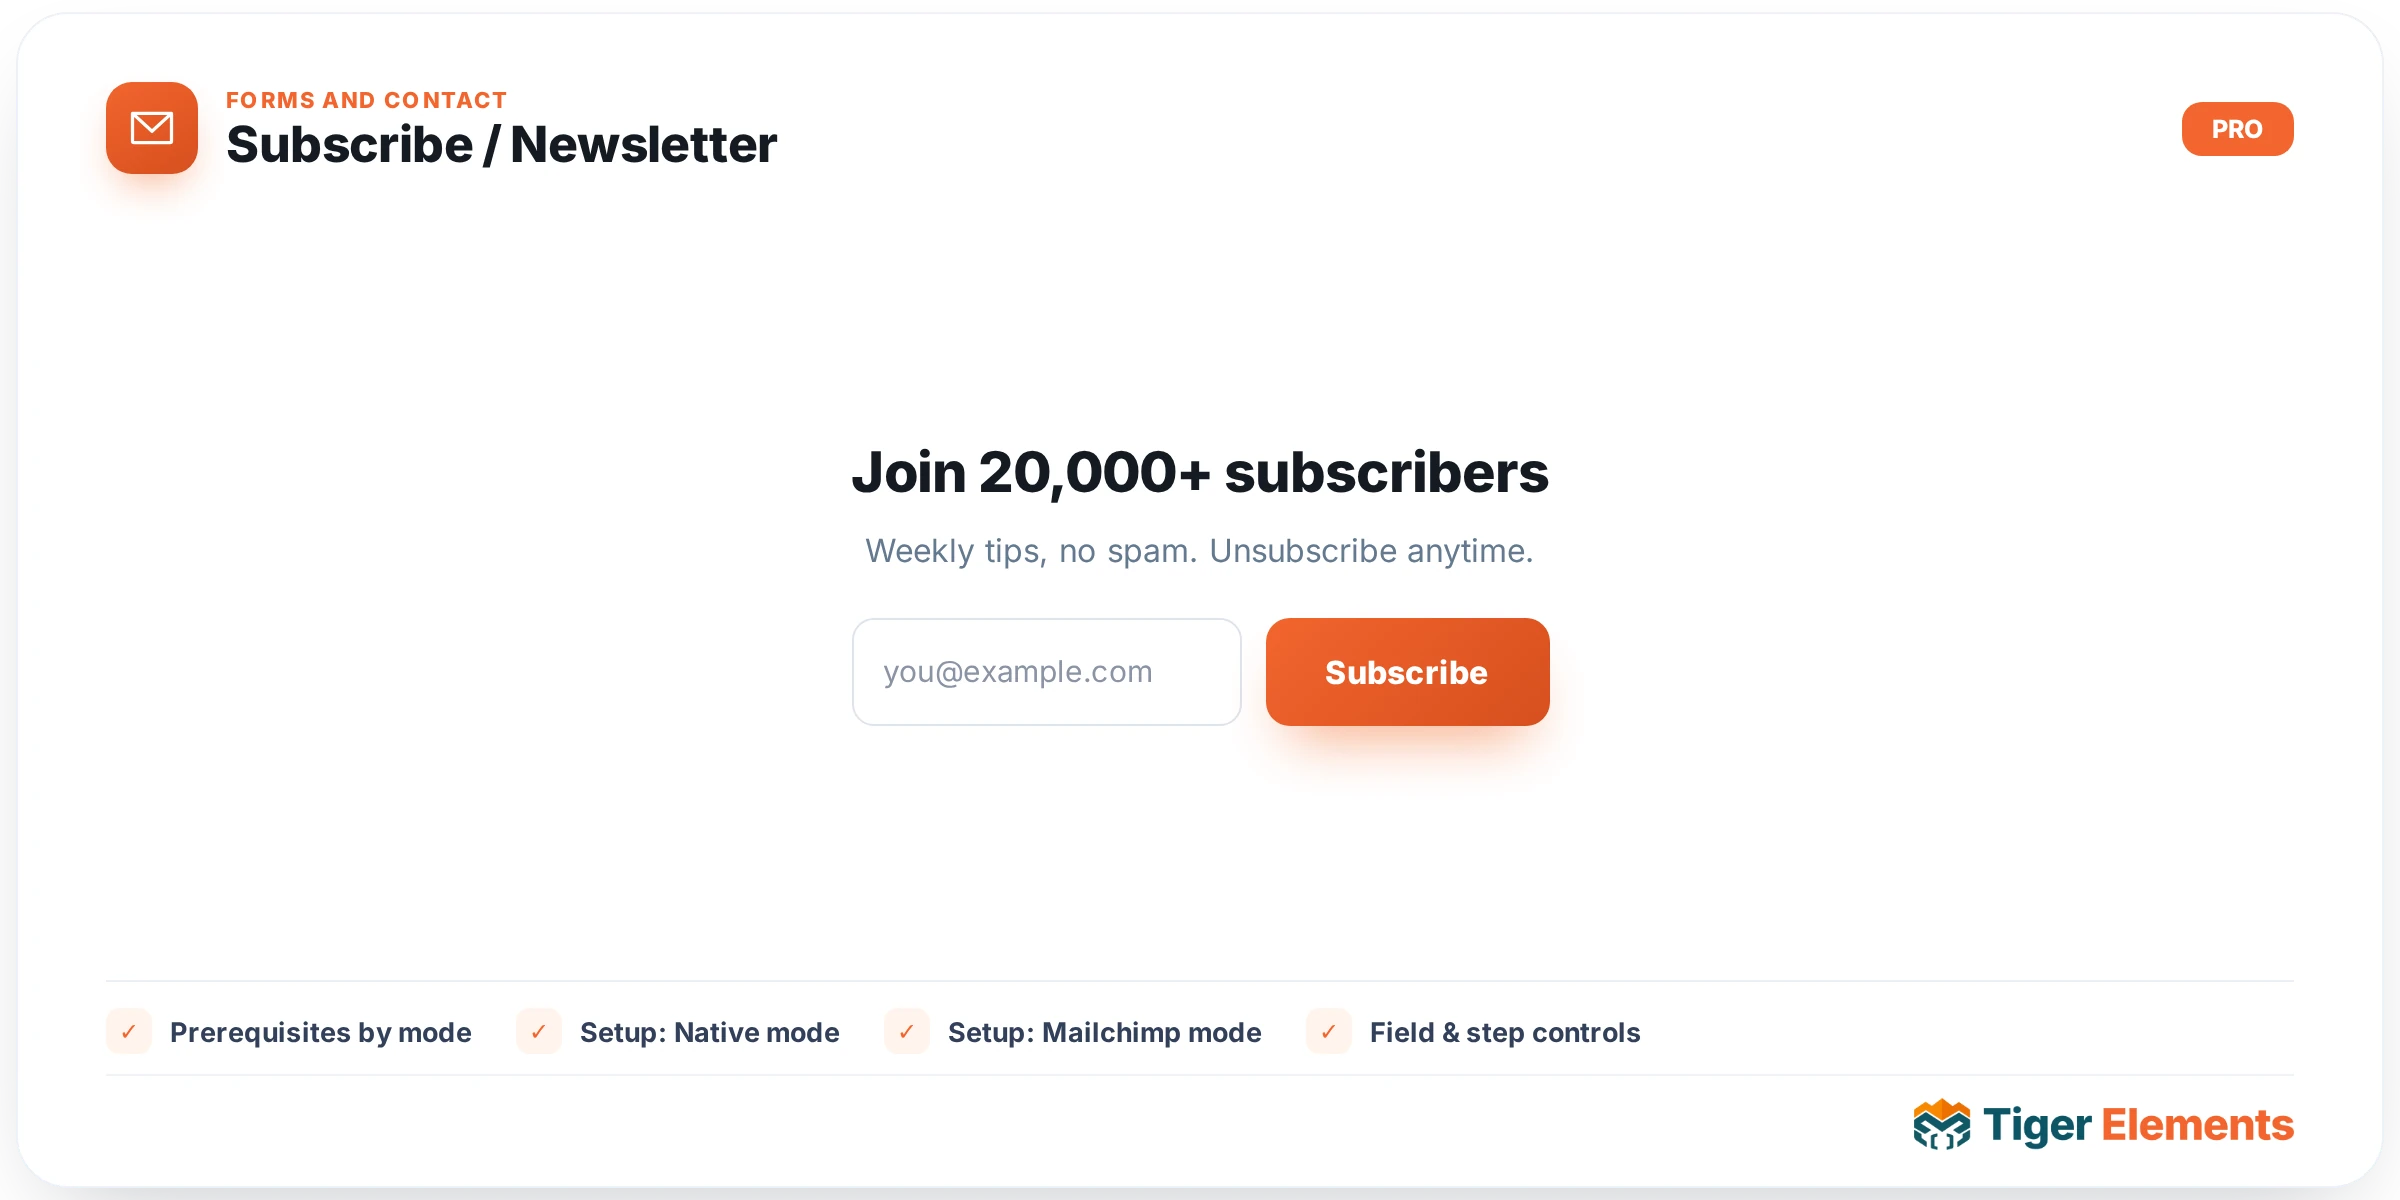
The Subscribe / Newsletter widget (internal name tiger_newsletter) adds an email opt-in form to any page built with Tiger Elements. Visitors type an email (and, optionally, a name), tick a consent checkbox, and submit — and the widget routes that subscriber to one of three destinations: a local table on your own WordPress database, a Mailchimp audience, or an outbound webhook that feeds Zapier, Make, n8n, or any other tool that can catch an HTTP POST. This is a Pro widget, and the destination is controlled by a single “Send Subscribers To” setting in the Automation section of the widget’s Content tab.
Whichever destination you choose, credentials never reach the browser. The widget encrypts the entire provider configuration — including a Mailchimp API key or a webhook URL — into a sealed, authenticated token embedded in the form’s hidden fields, decrypted only server-side on submission. A visitor viewing page source cannot recover your API key, and a tampered token is rejected outright.
What the widget does
Drag the widget onto a page and it renders a form with a required email field, an optional name field, a submit button, and an optional consent checkbox. On submit, an AJAX call validates the email, checks a nonce, runs an 8-submissions-per-minute rate limit per IP, and screens a hidden honeypot field to soft-reject bots. If everything checks out, the subscriber is routed to the provider you selected, and the visitor sees your configured success or error message inline.
Prerequisites by mode
- Native (This Site): nothing extra — it works out of the box, creating a dedicated
wp_tiger_subscribersdatabase table automatically on first use. - Mailchimp: an existing Mailchimp account with at least one Audience already created, plus an API key.
- Webhook: a “catch hook” URL from Zapier, Make, n8n, or any endpoint that accepts an HTTP POST with a JSON body.
Setup: Native mode
- Open the widget’s Automation section and set Send Subscribers To to “This Site (Subscribers list)”.
- Optionally set a List / Segment Key — a plain-text label (default
default) grouping subscribers from this form. Use different keys per form to distinguish, say, a footer signup from a landing-page signup. - Save/publish. Every valid, non-bot submission is inserted into the
{prefix}tiger_subscriberstable (email, name, list_key, source URL, IP, status, created_at), de-duplicated on email + list key so a repeat signup refreshes the record instead of duplicating it.
There is no dedicated admin screen inside Tiger Elements for browsing this table yet — reviewing subscribers today means a database tool (phpMyAdmin, Adminer, or wp db query via WP-CLI).
Setup: Mailchimp mode
- In Mailchimp, make sure you have at least one Audience set up.
- Get your API key from Account → Extras → API keys. It looks like
xxxxxxxxxxxxxxxx-us21— the segment after the dash is your data-center suffix, which the widget parses directly out of the key, so paste it exactly as shown. - Get your Audience ID from Audience → Settings → Audience name and defaults.
- Set Send Subscribers To to “Mailchimp”. A sub-panel appears with four fields: API Key, Audience ID, Tags (comma separated) (optional, e.g.
website, newsletter), and Double Opt-In — enabled, new subscribers get status “pending” so Mailchimp emails its own confirmation first; off, they’re added directly as “subscribed”. An already-subscribed member is never downgraded back to pending on resubmit. - Optionally leave Also Store On This Site on (defaults to yes for non-Native providers) for a local backup copy.
Each submission is upserted into Mailchimp via a PUT to the Audience’s member endpoint (Marketing API v3), keyed by an MD5 hash of the lowercased email, so resubmitting updates the existing member rather than erroring.
Setup: Webhook mode
- Set Send Subscribers To to “Webhook (Zapier / Make / n8n)”.
- A single field appears: Webhook URL. Paste your catch-hook URL, e.g. a Zapier Catch Hook trigger (
https://hooks.zapier.com/hooks/catch/...), a Make webhook, or an n8n webhook node’s URL. - Save/publish. Every valid submission triggers an HTTP POST to that URL with a JSON body containing exactly:
email,name,list(the List / Segment Key),source(referring page URL),timestamp(ISO 8601, UTC), andsite(your home URL).
The webhook target is screened against internal/reserved addresses before sending, since the URL is editable by anyone with page-editing rights, not just administrators. Sites deliberately running automation on the same server can lift that block via the tiger_newsletter_allow_internal_webhook filter — a developer-level change, not a widget setting.
Shared Form Fields, Messages & consent controls
Regardless of provider, Form Fields lets you pick an Inline or Stacked layout, toggle a Name field with its own placeholder, set the Email placeholder and Button text/icon, and add a Consent Checkbox with custom text and a “Consent Required” switch blocking submission until ticked. Messages & Behavior lets you customize the Success and Error messages shown inline, plus an optional Redirect After Success URL.
Styling controls
The Style tab has four panels: Form (responsive field gap, max width), Inputs (text/background color, typography, border, radius, padding), Button (Normal/Hover tabs for text/background color, typography, radius, padding), and Consent & Messages (consent text color, success/error colors, message typography).
Practical tips / troubleshooting
- Test Mailchimp with a real submission, not a preview. The API key is decrypted only server-side, so the editor preview can’t validate it — submit the live form once and confirm the contact appears in Mailchimp.
- Mailchimp rejections often trace to the datacenter suffix. It’s extracted from the API key after the dash (e.g.
-us21); an incomplete or regenerated key fails with an “Invalid Mailchimp API key” error, though native storage still succeeds as a fallback. - Use Zapier/Make/n8n’s request-history view to debug webhook payloads. The JSON shape is fixed (
email, name, list, source, timestamp, site), so map those fields directly without extra parsing. - Native storage is a safety net, not just a mode. Even with Mailchimp or Webhook selected, “Also Store On This Site” keeps every subscriber in
wp_tiger_subscribers, so an outage or typo never silently loses a signup.