
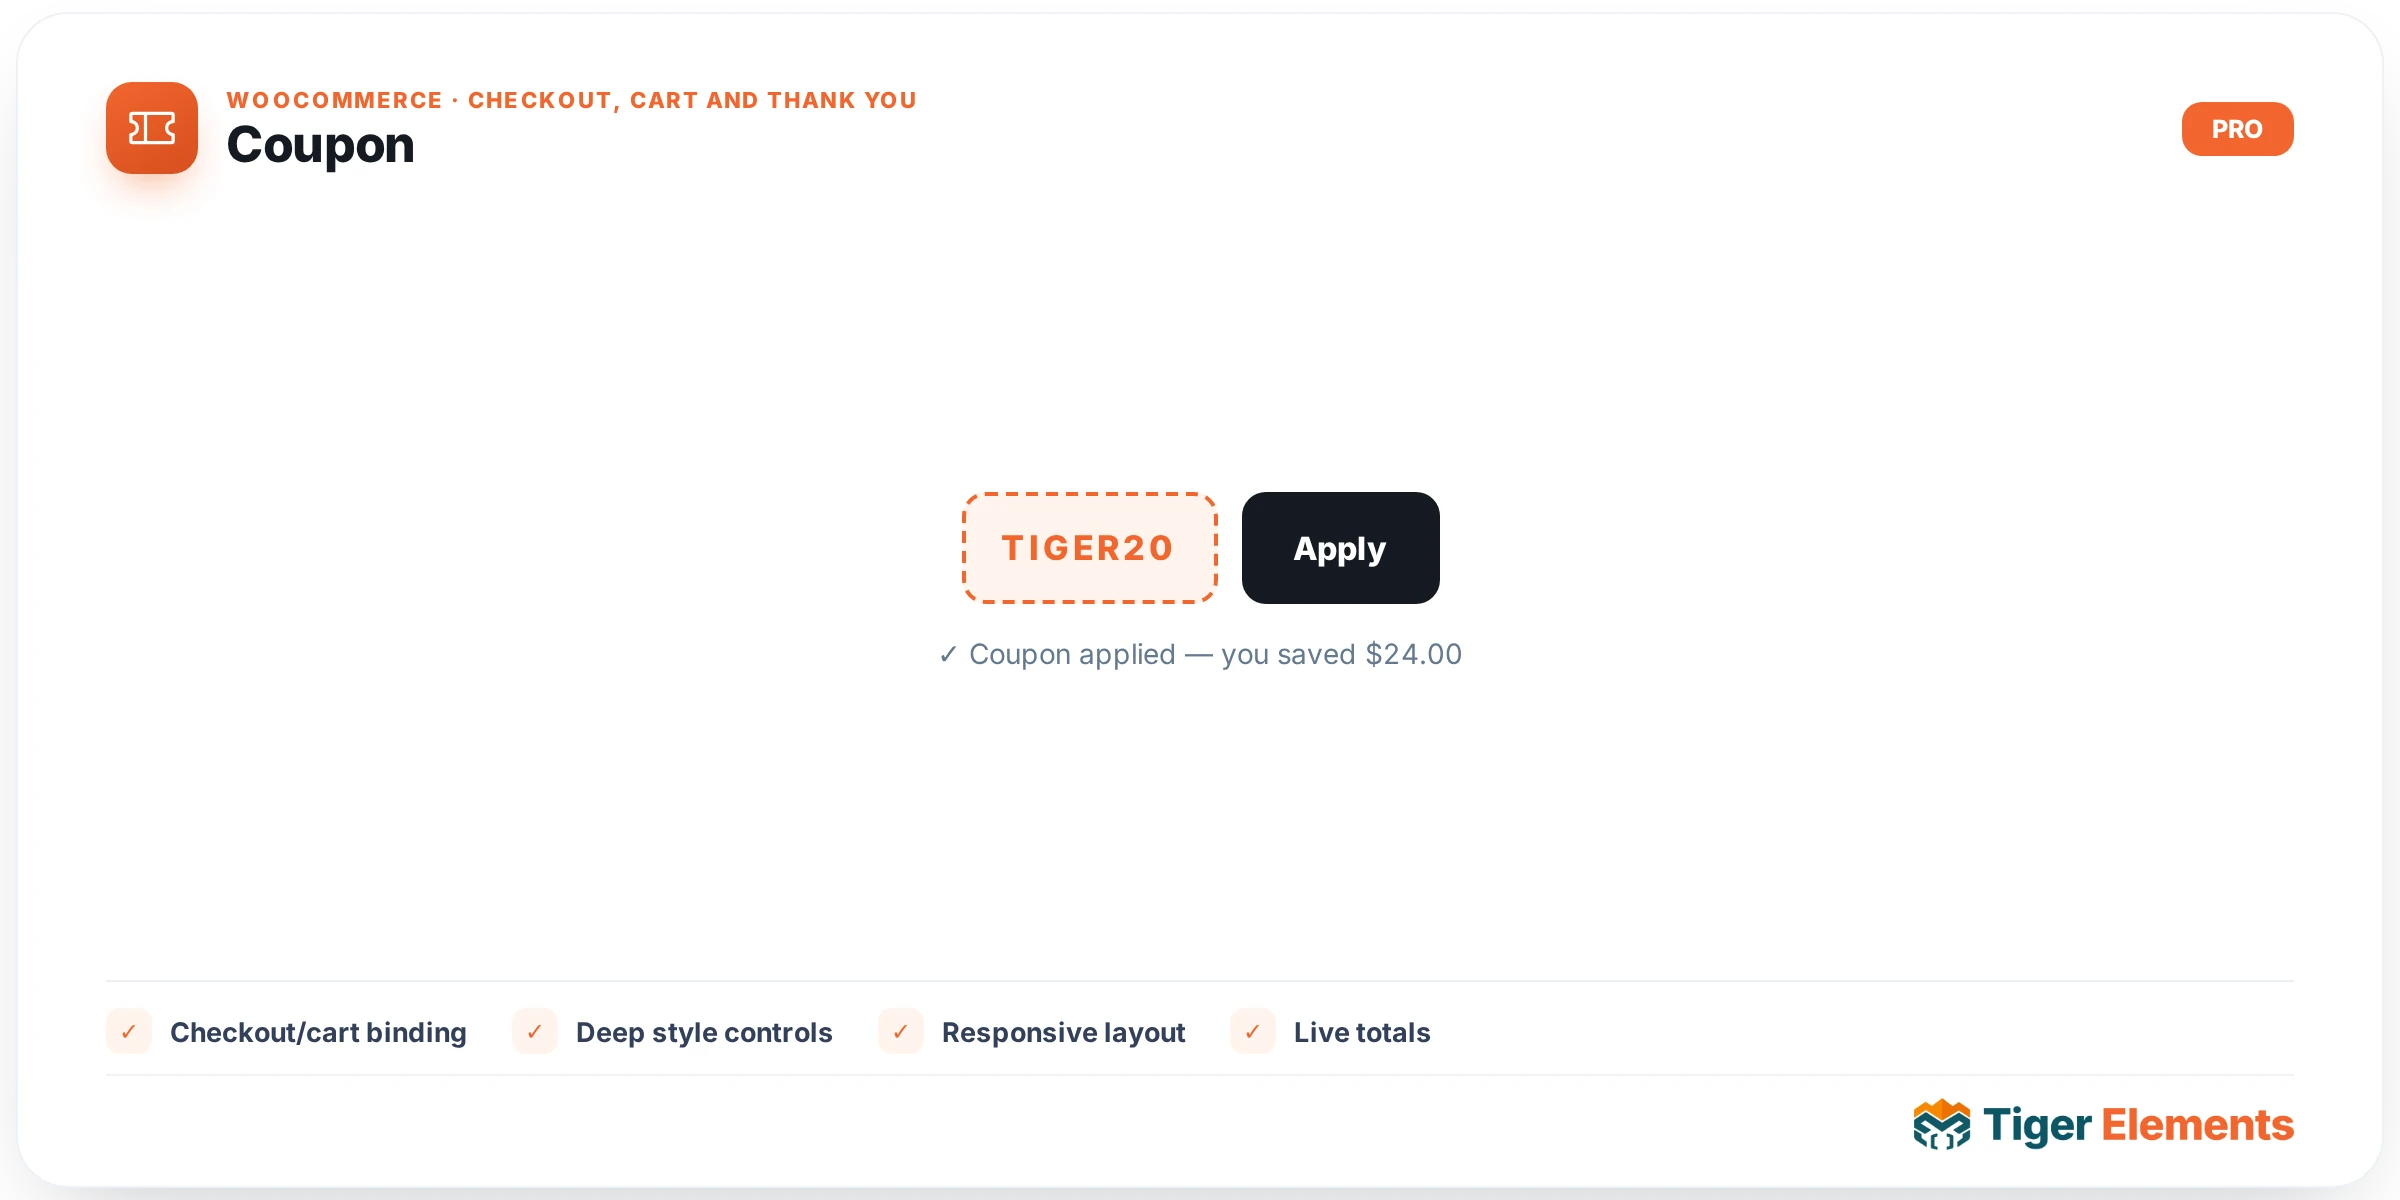
What the Coupon widget does
The Coupon widget places WooCommerce’s native “Have a coupon?” prompt anywhere on a custom-built checkout page. Out of the box, WooCommerce’s classic checkout template hardcodes this toggle-and-form pair near the top of the page. The moment you build a checkout layout with Tiger Elements instead of the default template, that piece disappears unless you add it back deliberately — which is exactly what this widget is for. It exists as its own widget, separate from any full checkout form widget, so you can position the coupon prompt precisely: above the cart totals, tucked under the billing fields, or left out entirely on stores that don’t run promotions.
Under the hood the widget is a thin wrapper around WooCommerce’s own coupon-toggle markup. It checks wc_coupons_enabled() and the cart state before rendering anything, and defers to the shared Tiger_Woo_Checkout_Base class for the WooCommerce-readiness guard and the editor placeholder. That means the widget never invents its own coupon-application logic — it draws the same markup and classes (woocommerce-form-coupon-toggle, showcoupon, checkout_coupon) that WooCommerce’s own AJAX handlers already listen for.
How to set it up
Drag the Coupon widget onto your checkout page and you’ll find three content controls: Toggle Text (the clickable link shown before the form opens, default “Have a coupon? Click here to enter your code”), Input Placeholder (the text field’s placeholder, default “Coupon code”), and Apply Button Text (default “Apply”). All three accept dynamic tags, so you can localize them or swap in a promotional phrase per campaign without touching code.
For styling, the widget calls the shared add_common_style_controls() method from the base class, which adds a Style-tab “Fields” section: Label Color, Label Typography, Field Background, Field Text Color, Field Border, responsive Field Padding, and Field Radius. These controls target the label and the input.input-text element inside the widget, so adjusting them restyles the coupon code input to match the rest of your checkout form without any custom CSS.
Non-obvious behavior
The most important thing to understand is that this widget does not implement coupon validation itself — it renders WooCommerce’s native coupon form and lets core’s own AJAX handler (woocommerce_apply_coupon) take over from there. That means every rule you already rely on — usage limits, expiry dates, minimum spend, exclusions, coupons restricted to specific products — keeps working exactly as WooCommerce defines it. The widget’s only job is placement and appearance; it never touches discount math.
The widget is also cart-aware in ways that matter for editor previews. If WooCommerce isn’t active, or coupons are disabled globally under WooCommerce → Settings → General, or the cart is empty, the widget renders a dashed placeholder message instead of the form (the empty-cart placeholder only appears on the live front end, not while you’re editing in Elementor, so you can still design the layout with an empty test cart). On a real checkout page with items in the cart, the form is hidden by default behind the toggle link — clicking it reveals the input and Apply button, matching the exact interaction shoppers already expect from WooCommerce sites.
Because the widget reuses core’s coupon form classes, any coupon-related CSS or JS from other plugins that targets .woocommerce-form-coupon will continue to work here too — you’re not opting out of the WooCommerce ecosystem by using a custom-built checkout.
When to use this widget vs. related widgets
Use the Coupon widget any time you’re assembling a checkout page from Tiger Elements widgets rather than relying on the default WooCommerce checkout shortcode — it’s the piece that restores coupon entry to that custom layout. It’s a lightweight, single-purpose widget: it doesn’t show cart contents, totals, or bump/upsell offers. If you want to encourage additional spend rather than discount codes, that’s a job for the Order Bumps or Upsell Offer widgets instead — those drive incremental revenue, while Coupon is purely a redemption utility for codes your marketing has already issued. If your store doesn’t run coupon campaigns, simply leave this widget off the page; there’s no downside to omitting it.
Practical tips
- Since the form starts hidden, don’t bury the widget below the fold or inside a collapsed accordion of your own — shoppers need to actually see the “Have a coupon?” toggle link to find it, and hiding it hurts redemption rates.
- If a promotion isn’t applying, the issue is almost always in WooCommerce’s coupon settings (expiry, usage limits, or product restrictions) rather than in this widget’s controls, since the widget doesn’t touch validation logic at all.
- Match Field Radius and Field Padding to whatever values you used on your billing/shipping field widgets so the coupon input doesn’t look visually out of place next to the rest of the form.
- If coupons are disabled sitewide (WooCommerce → Settings → General → “Enable coupons”), remove this widget from your layout entirely rather than leaving a widget that will only ever show a placeholder message to real shoppers.