
What the Store Locator widget does
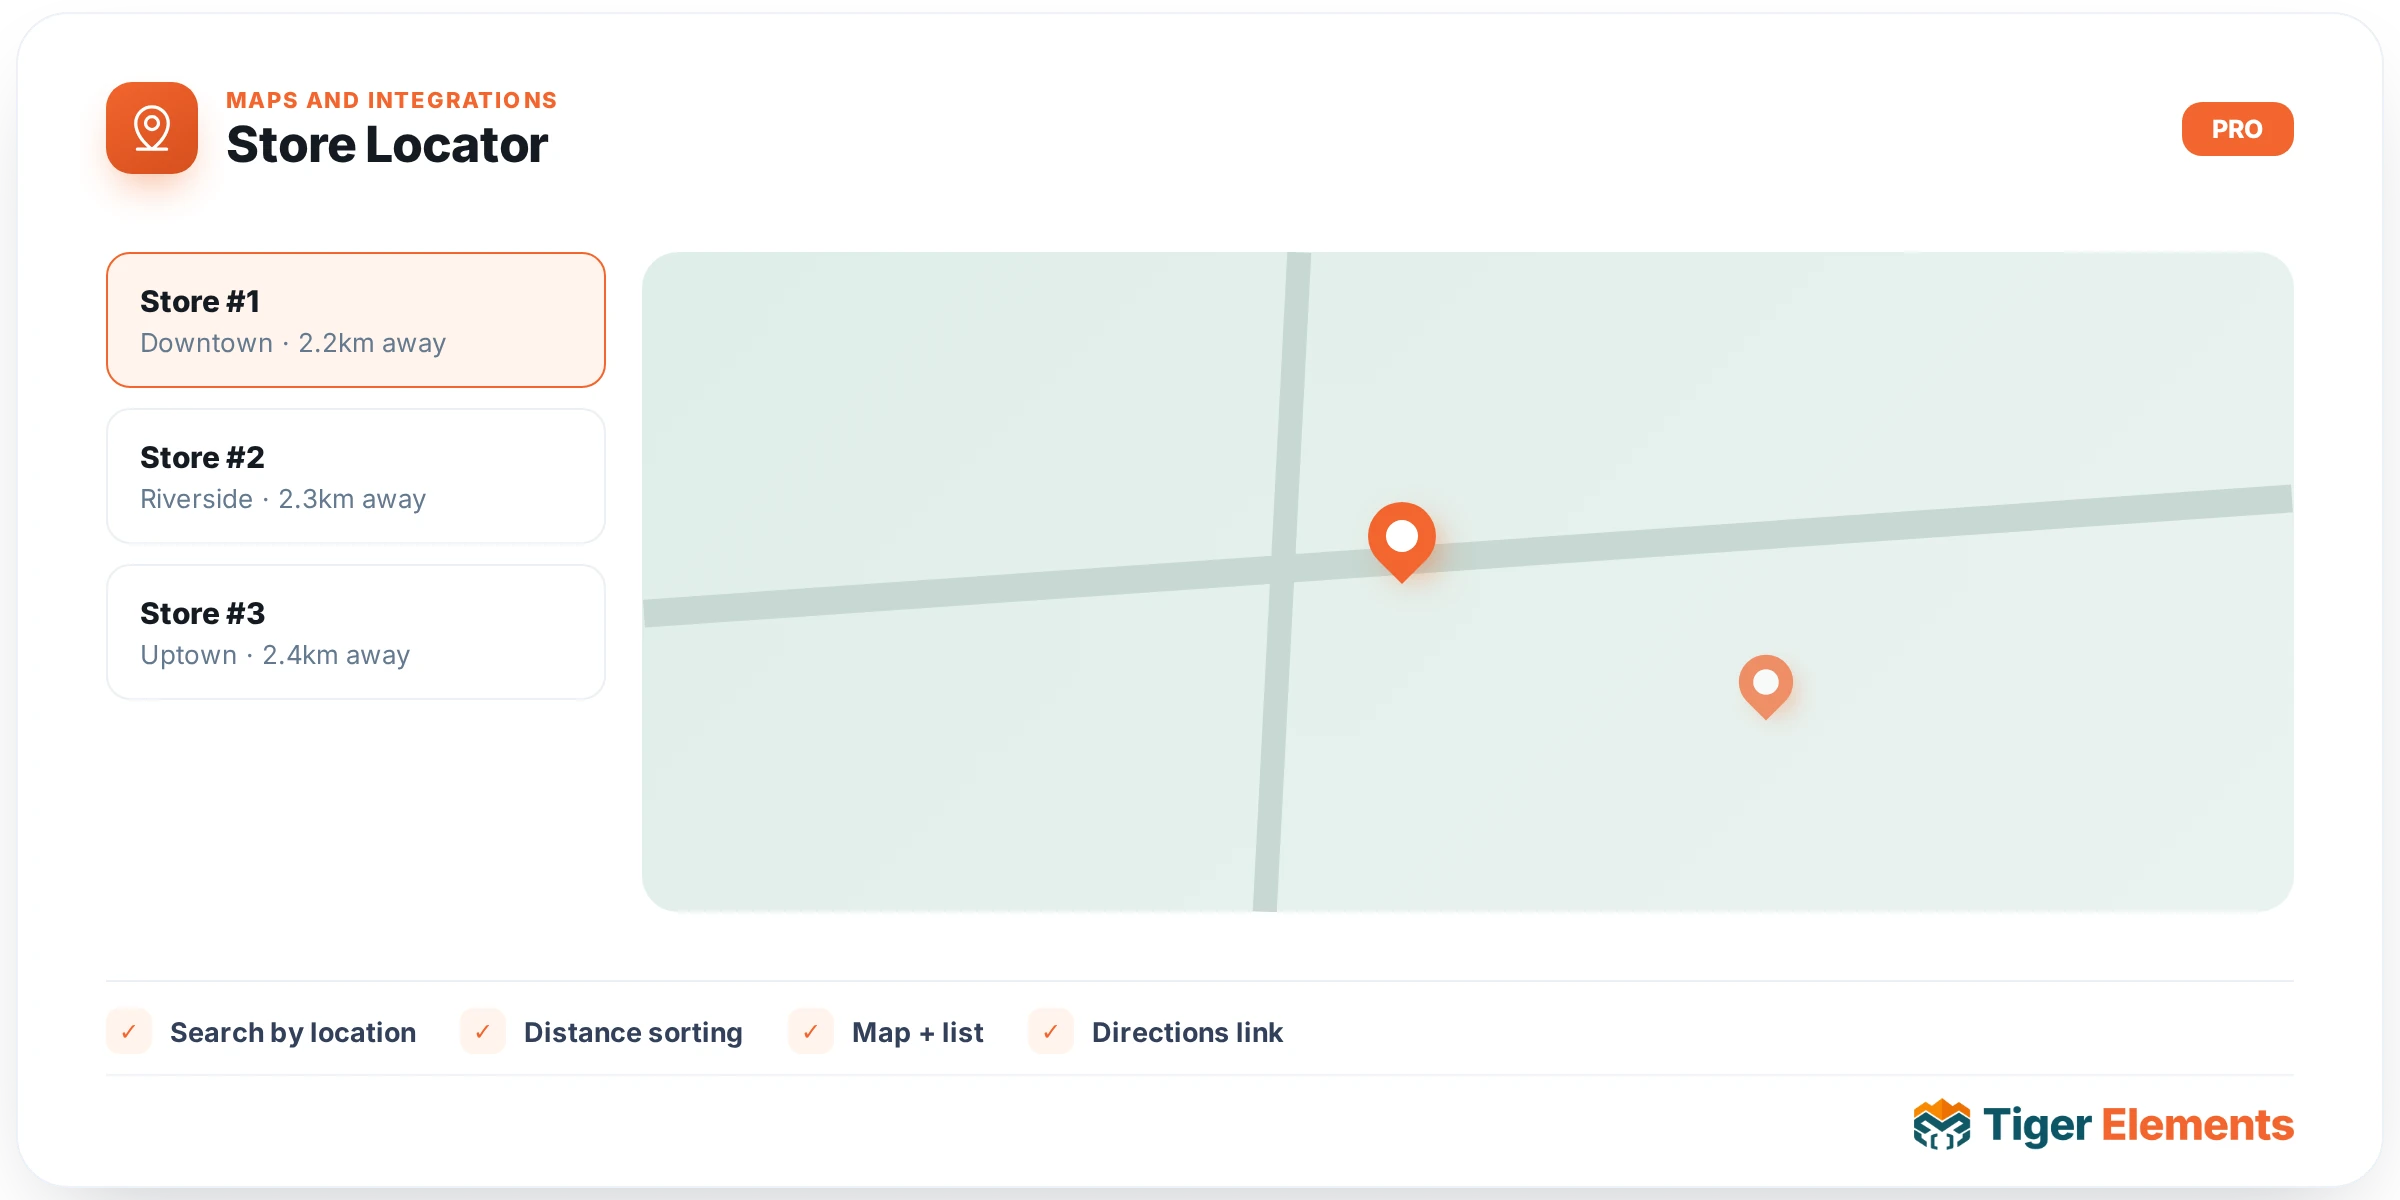
Store Locator places multiple business or shop locations on an interactive Google Map inside any Elementor page. Each location is added through a repeater (“Stores”), and every entry becomes a marker on the map plus a row in an optional store list panel. Clicking a marker or a list row opens a tooltip-style info window with the shop’s image, address, description, phone number, opening hours, a “View Store” link button, and a “Get Directions” button that deep-links to Google Maps. Visitors can also type an address or postcode into a “Find Nearest” search box (or tap “Use My Location”) to have the store list re-sorted by distance from them, shown in kilometres or miles. For sites with many locations, markers can be grouped into numbered clusters at low zoom so the map doesn’t turn into an unreadable pile of pins.
Prerequisites: map provider and API key
Store Locator is Google-Maps-backed — there is no Leaflet/OpenStreetMap alternative built into this widget. A Google Maps API key is required for the map to render at all. The key is not entered per-widget; it is read from one shared plugin option (tiger_google_api_key) configured once under Tiger Elements → API Settings. Every Store Locator on the site automatically uses that same key. If no key has been saved, the widget’s Map Settings panel shows a warning notice in the editor. The Live Place Search field inside the Stores repeater and the “Sync” photo button also rely on this same key, so setting it once unlocks all of the widget’s location-lookup features.
Step-by-step setup
1. Add the API key
Go to Tiger Elements → API Settings and paste a Google Maps API key into the shared field before placing the widget.
2. Configure Map Settings
Open the widget’s Map Settings section:
- Zoom Level — slider 1–21, the initial zoom; overridden whenever Auto Fit is on and there is more than one store.
- Auto Fit To Markers — on by default; frames the map so every store marker is visible, ignoring the manual zoom.
- Default Center Latitude / Longitude — fallback center used only when no stores have coordinates.
- Map Type — Roadmap, Satellite, Hybrid, or Terrain.
- Custom Map Style (JSON) — optional Google Maps style array (e.g. from snazzymaps.com) to re-skin the map colors.
- Show Map UI Controls — on by default; toggles Google’s zoom/pan chrome.
- Scroll Wheel Zoom — off by default.
- Cluster Markers — off by default; groups nearby pins into a numbered cluster at low zoom, recommended when you have many stores.
- Show Store List Panel — on by default; adds a scrollable list beside the map.
- List Position — Left or Right, shown only when the list panel is enabled.
3. Configure the “Find Nearest” search
- Enable Location Search — on by default; adds a search box so visitors can enter their location and see stores sorted by distance.
- Placeholder — defaults to “Enter your address or postcode”.
- Button Text — defaults to “Find Nearest” (dynamic tags supported).
- “Use My Location” Button — on by default; geolocates the visitor’s browser instead of typed text.
- Distance Units — Kilometres (default) or Miles.
- Show Distance In List — on by default; shows calculated distance next to each store.
This feature re-sorts the store list by proximity rather than filtering by a fixed radius — there is no “search radius” field; every store still appears, just reordered nearest-first.
4. Add stores in the Stores repeater
Two sample entries (“Downtown Store” and “Uptown Store”) ship as defaults. Each repeater item has:
- Live place search — queries Google Places as you type; picking a result auto-fills that item’s Store Name, Address, Latitude, and Longitude.
- Store Name, Shop Image, Address (textarea), Description (textarea) — all support dynamic tags where applicable.
- Latitude and Longitude — plain text fields. These actually place the marker: if either is blank or non-numeric, that store is silently skipped and never rendered. There is no automatic geocode-on-save from a typed address — use Live Place Search to auto-fill them, or enter coordinates manually.
- Phone — text field.
- Opening Hours — switcher that reveals seven per-day text fields (Monday–Sunday), placeholder format “9:00-17:00” (24-hour). Leave a day blank or type “Closed”; multiple ranges can be comma-separated, e.g. “9:00-12:00, 13:00-17:00”.
- Button Label (defaults “View Store”) and Link — the button only appears once a Link is set.
- Get Directions Button — per-store switcher, on by default; opens Google Maps directions using coordinates plus the Place ID when available for accuracy.
- Custom Marker Icon — optional per-store pin override.
- Google Place ID — normally auto-filled by Live Place Search or Sync; identifies the business whose Google photo gets cached to your Media Library.
5. Optional Settings section
- Use Saved Business Photos and When To Use It (“Always prefer Google photo” or “Only when no manual image”) — uses each store’s cached Google photo (no live API call on page load) as thumbnail/tooltip image.
- A Sync button to refresh cached Google photos for stores with a Place ID.
- Directions Button Text — global label, defaults “Get Directions”.
- Marker Drop Animation — on by default.
- Open First Tooltip On Load — off by default.
Practical tips / troubleshooting
- No map appears: almost always means the shared Google Maps API key hasn’t been saved under Tiger Elements → API Settings. Check for the warning notice in Map Settings first.
- Markers missing: a store only renders if both Latitude and Longitude are valid numeric values. If you typed an address but skipped the coordinate fields, that marker is silently dropped — always verify Latitude/Longitude after adding a store.
- Turn on Cluster Markers for large lists: with many stores close together, enable Cluster Markers so nearby pins group into a single numbered cluster at low zoom instead of overlapping.
- “Find Nearest” sorts, it doesn’t filter: the search reorders the store list by proximity — it will not hide farther-away stores, so don’t rely on it to limit results to a radius.