
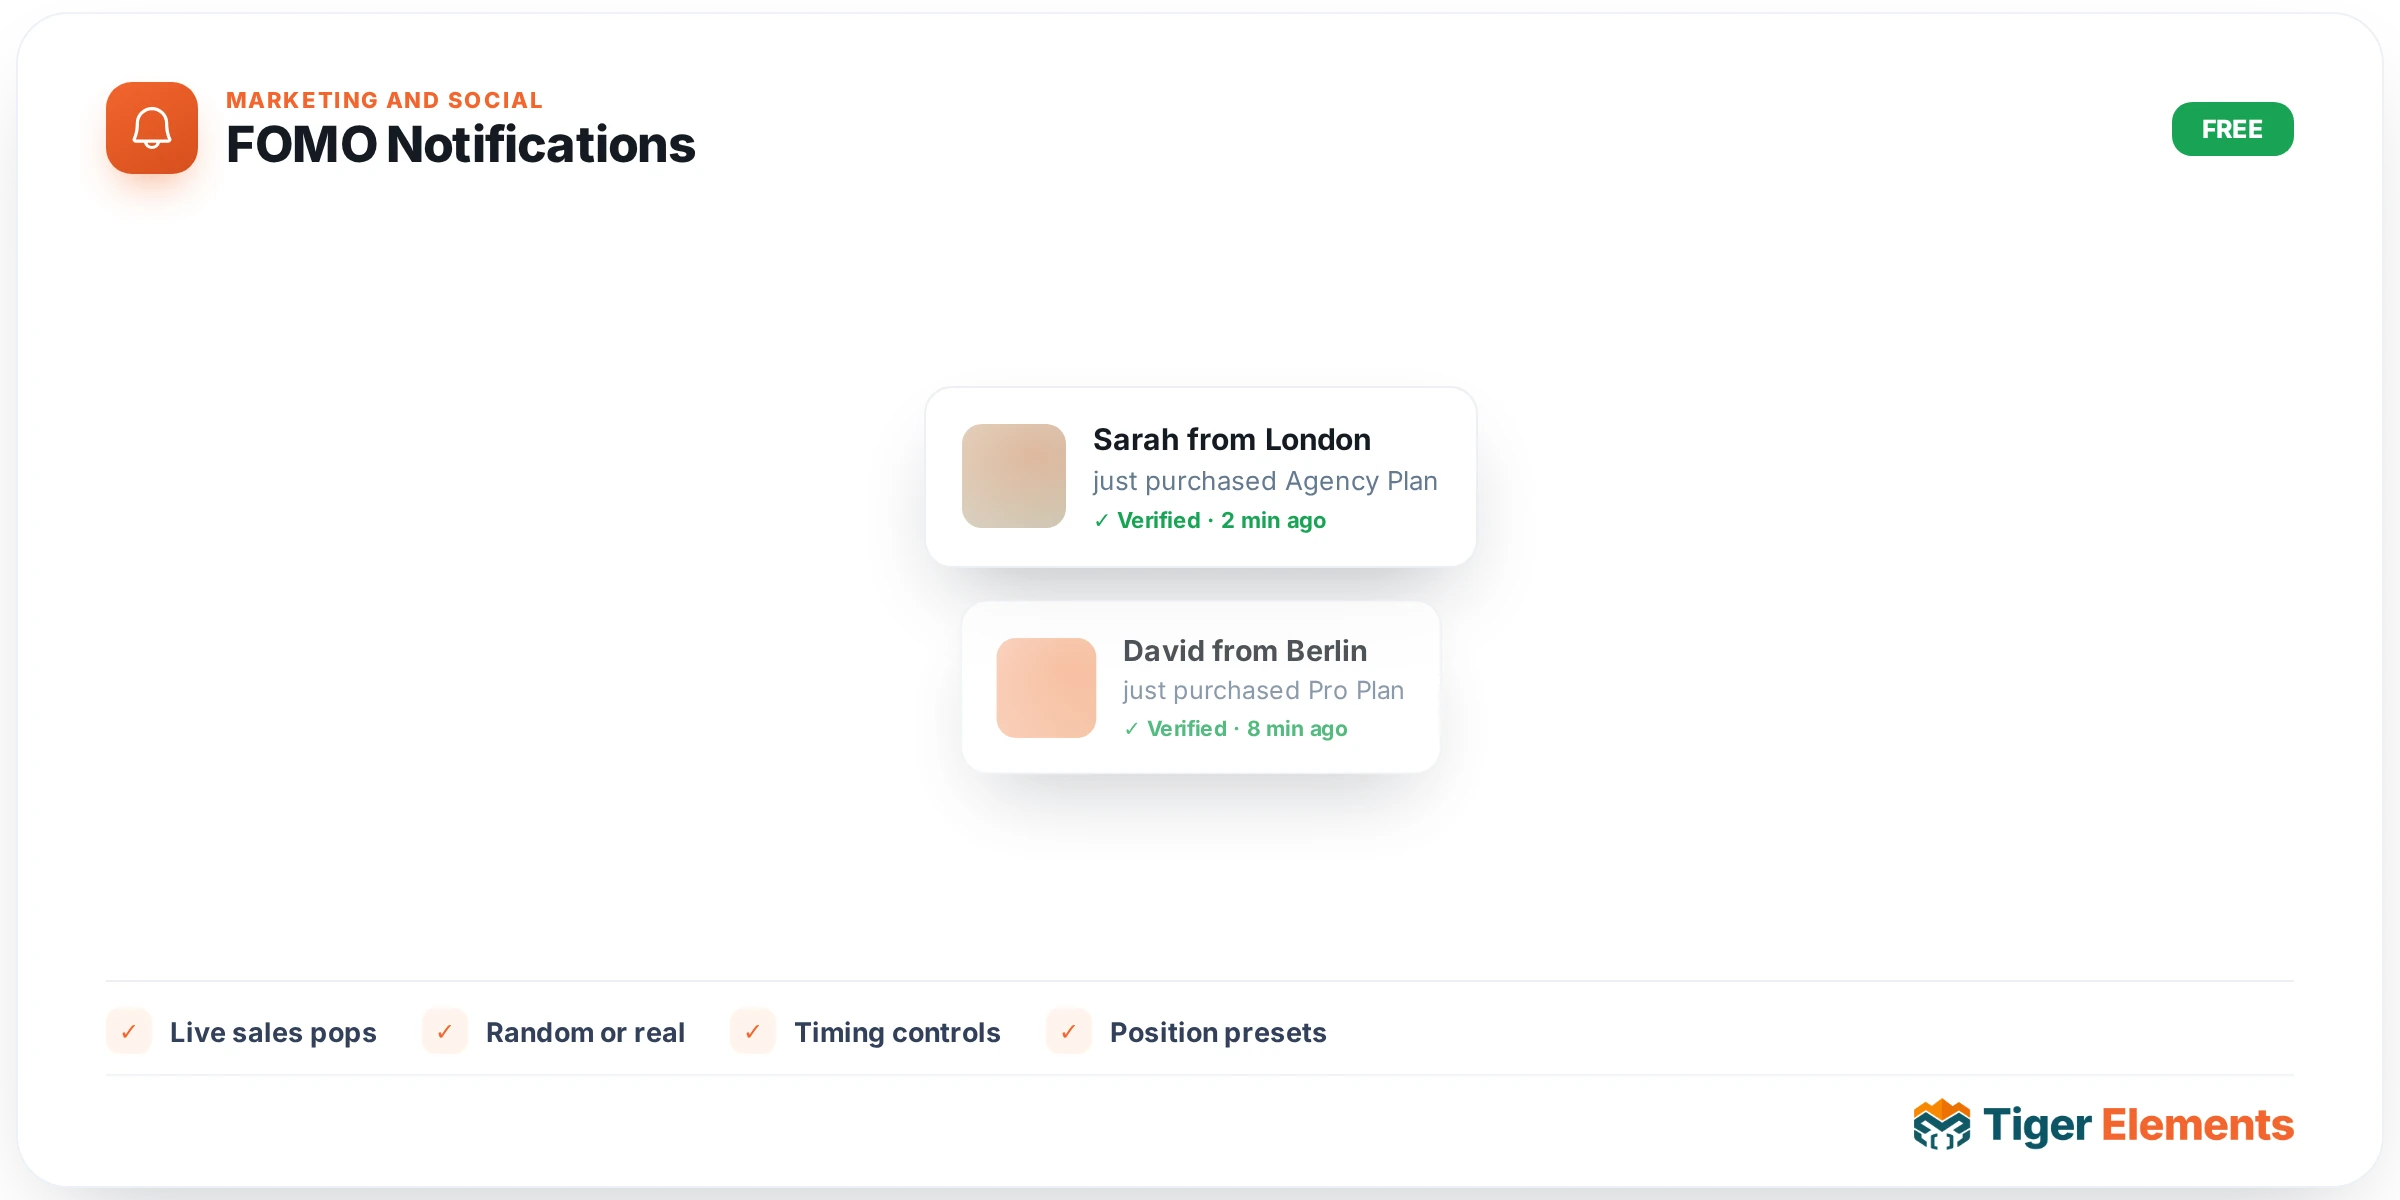
FOMO Notifications is Tiger Elements’ social-proof widget: it drops a small toast-style card into the corner of the screen that cycles through a list of recent-activity messages — “Sarah from London just purchased,” “12 people are viewing this now,” and so on. The psychology behind it is simple. Visitors trust a page more when they can see that other people are actively using it, buying from it, or signing up on it. Rather than asking a store owner to install a heavyweight third-party notification plugin with its own tracking scripts and subscription fees, Tiger built this directly into the Elements widget library so the same visual language, color controls, and Elementor workflow you already use elsewhere on the page apply here too.
The widget deliberately avoids collecting or displaying anything that looks like real customer data unless you explicitly wire it to WooCommerce. Under the hood it never renders its configuration inline in the page markup as raw JavaScript; instead the whole notification queue is serialized into a data-tg-fomo attribute and read by the enqueued tiger-fomo-script handle. That is a deliberate defensive choice — WordPress’s wptexturize() filter is notorious for mangling smart quotes and special characters inside inline <script> blocks, and keeping the behavior in an external, properly enqueued file sidesteps that entirely.
Setting it up
Drop the widget anywhere on the page — its position is fixed to a screen corner regardless of where you place it in the layout, so it behaves more like a site-wide overlay than an in-flow element. In the Notifications content section, the first control is Source, a toggle between “Custom notifications” and “Recent WooCommerce products.” With Custom notifications selected, you build the queue by hand in the Notifications repeater: each row has a Message field (supports Elementor dynamic tags, so you could pull in a dynamic value rather than typing static text), a Sub-text field for the timestamp-style line underneath (e.g. “2 minutes ago”), and an optional Image media picker for a small thumbnail. Three example rows ship by default so you can see the pattern immediately.
Switch Source to “Recent WooCommerce products” and the repeater is replaced by two controls: How many products (a number field, 1–20, default 6) and Message template, a text field whose default is “Someone purchased {title}” — the literal token {title} gets swapped for the real product name at render time. This mode only activates if WooCommerce is actually active on the site; the widget pulls the most recently published products via a lightweight WP_Query (IDs only, no found-rows calculation, so it’s cheap) and generates one notification per product complete with its thumbnail. Note this reflects recently *published* products, not recent *orders* — it is a “look what’s in our catalog” signal, not a live sales feed, and there’s no real customer PII involved anywhere in this path.
The Behaviour section controls pacing and placement: Position (Bottom left or Bottom right), Initial delay (s) before the first toast appears, Show for (s) controlling how long each toast stays visible, Gap between (s) for the pause between toasts, and a Loop forever switcher (on by default) that determines whether the queue cycles indefinitely or plays through once and stops. The Style tab is intentionally minimal — just Background, Message color, and Sub-text color — because the toast’s shape, shadow, spacing, and close-button styling are baked into the render output as inline styles for consistency, leaving color as the main brand lever.
When to use it
It fits naturally on high-intent landing pages: a SaaS pricing page where you want prospective buyers to see “Mike from New York signed up 8 minutes ago” while they’re deciding; a WooCommerce storefront homepage during a launch or sale window where the Recent WooCommerce products source keeps the feed honest and low-maintenance since it auto-updates as new products are published; or an event/webinar registration page where a handful of hand-written custom rows (“12 people are viewing this now”) reinforce urgency without needing any backend integration at all.
Practical tips
- Keep Initial delay at 2 seconds or more — firing a toast the instant the page paints reads as intrusive and can trip ad-blocker-adjacent “annoyance” heuristics in some browsers.
- If you switch to the WooCommerce source, remember it reflects publish date, not purchase activity — if your catalog is static and rarely updated, the “recently” sub-text will start to look stale, so this mode works best on stores that add products regularly.
- Because Position only offers Bottom left or Bottom right, check the corner you choose against any existing chat widgets, cookie banners, or WhatsApp buttons on the page — those tend to claim the same real estate and will visually collide.
- Use the Image field on custom rows even for non-product notifications (a small avatar-style photo) — the fixed 44px thumbnail slot is baked into the shared CSS, so a plain colored placeholder still reads cleanly if you don’t have a real photo.