
Overview
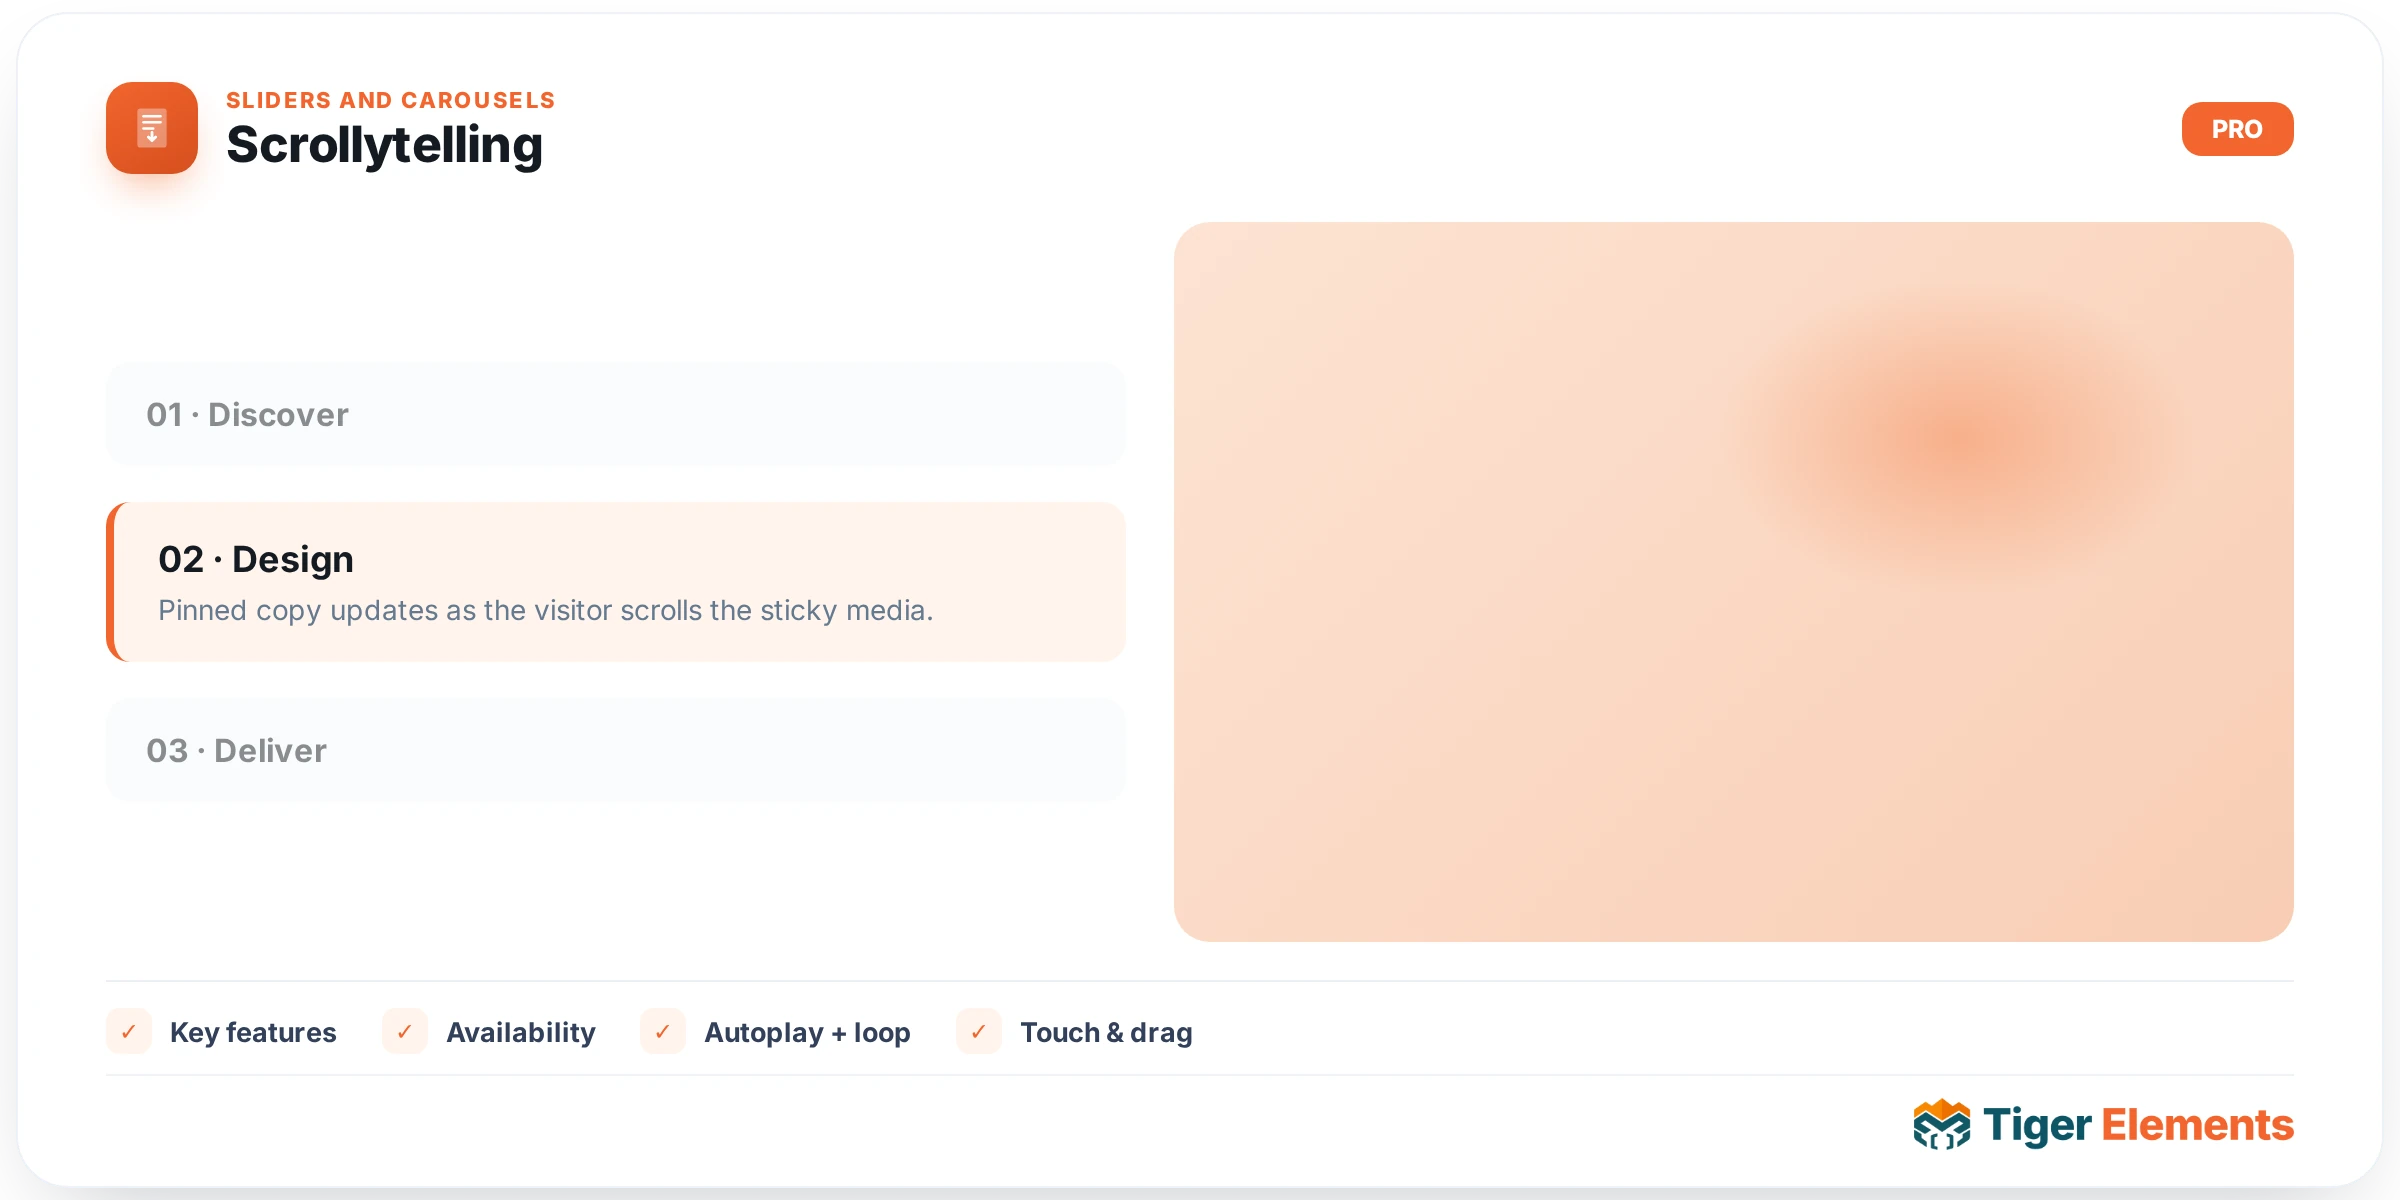
Scrollytelling pins a visual panel (image or video) to one side of the screen while a column of narrative steps scrolls past on the other. As each step reaches the centre of the viewport it becomes active and its matching media cross-fades into the sticky panel — the storytelling technique used by leading news and product sites.
Key features
- Sticky media, scrolling story — the media panel stays pinned; the steps drive it.
- IntersectionObserver-driven — the step nearest centre activates and swaps the media, with a smooth cross-fade (no library).
- Flexible layout — media on the left or right, adjustable column width and sticky offset; stacks gracefully on mobile.
- Optional progress rail and auto-numbered steps.
Setting it up
- Add the Scrollytelling widget.
- Under Content → Steps, add a row per step: its media (image or video), an eyebrow/number, title, text and optional CTA.
- Pick the media side and sticky offset under Settings.
- Style the media panel, steps (active/inactive), typography and progress rail on the Style tab.
Availability
Scrollytelling is a Pro widget. Enable or disable it under Tiger Elements → Widgets.