
What the Account Navigation widget does
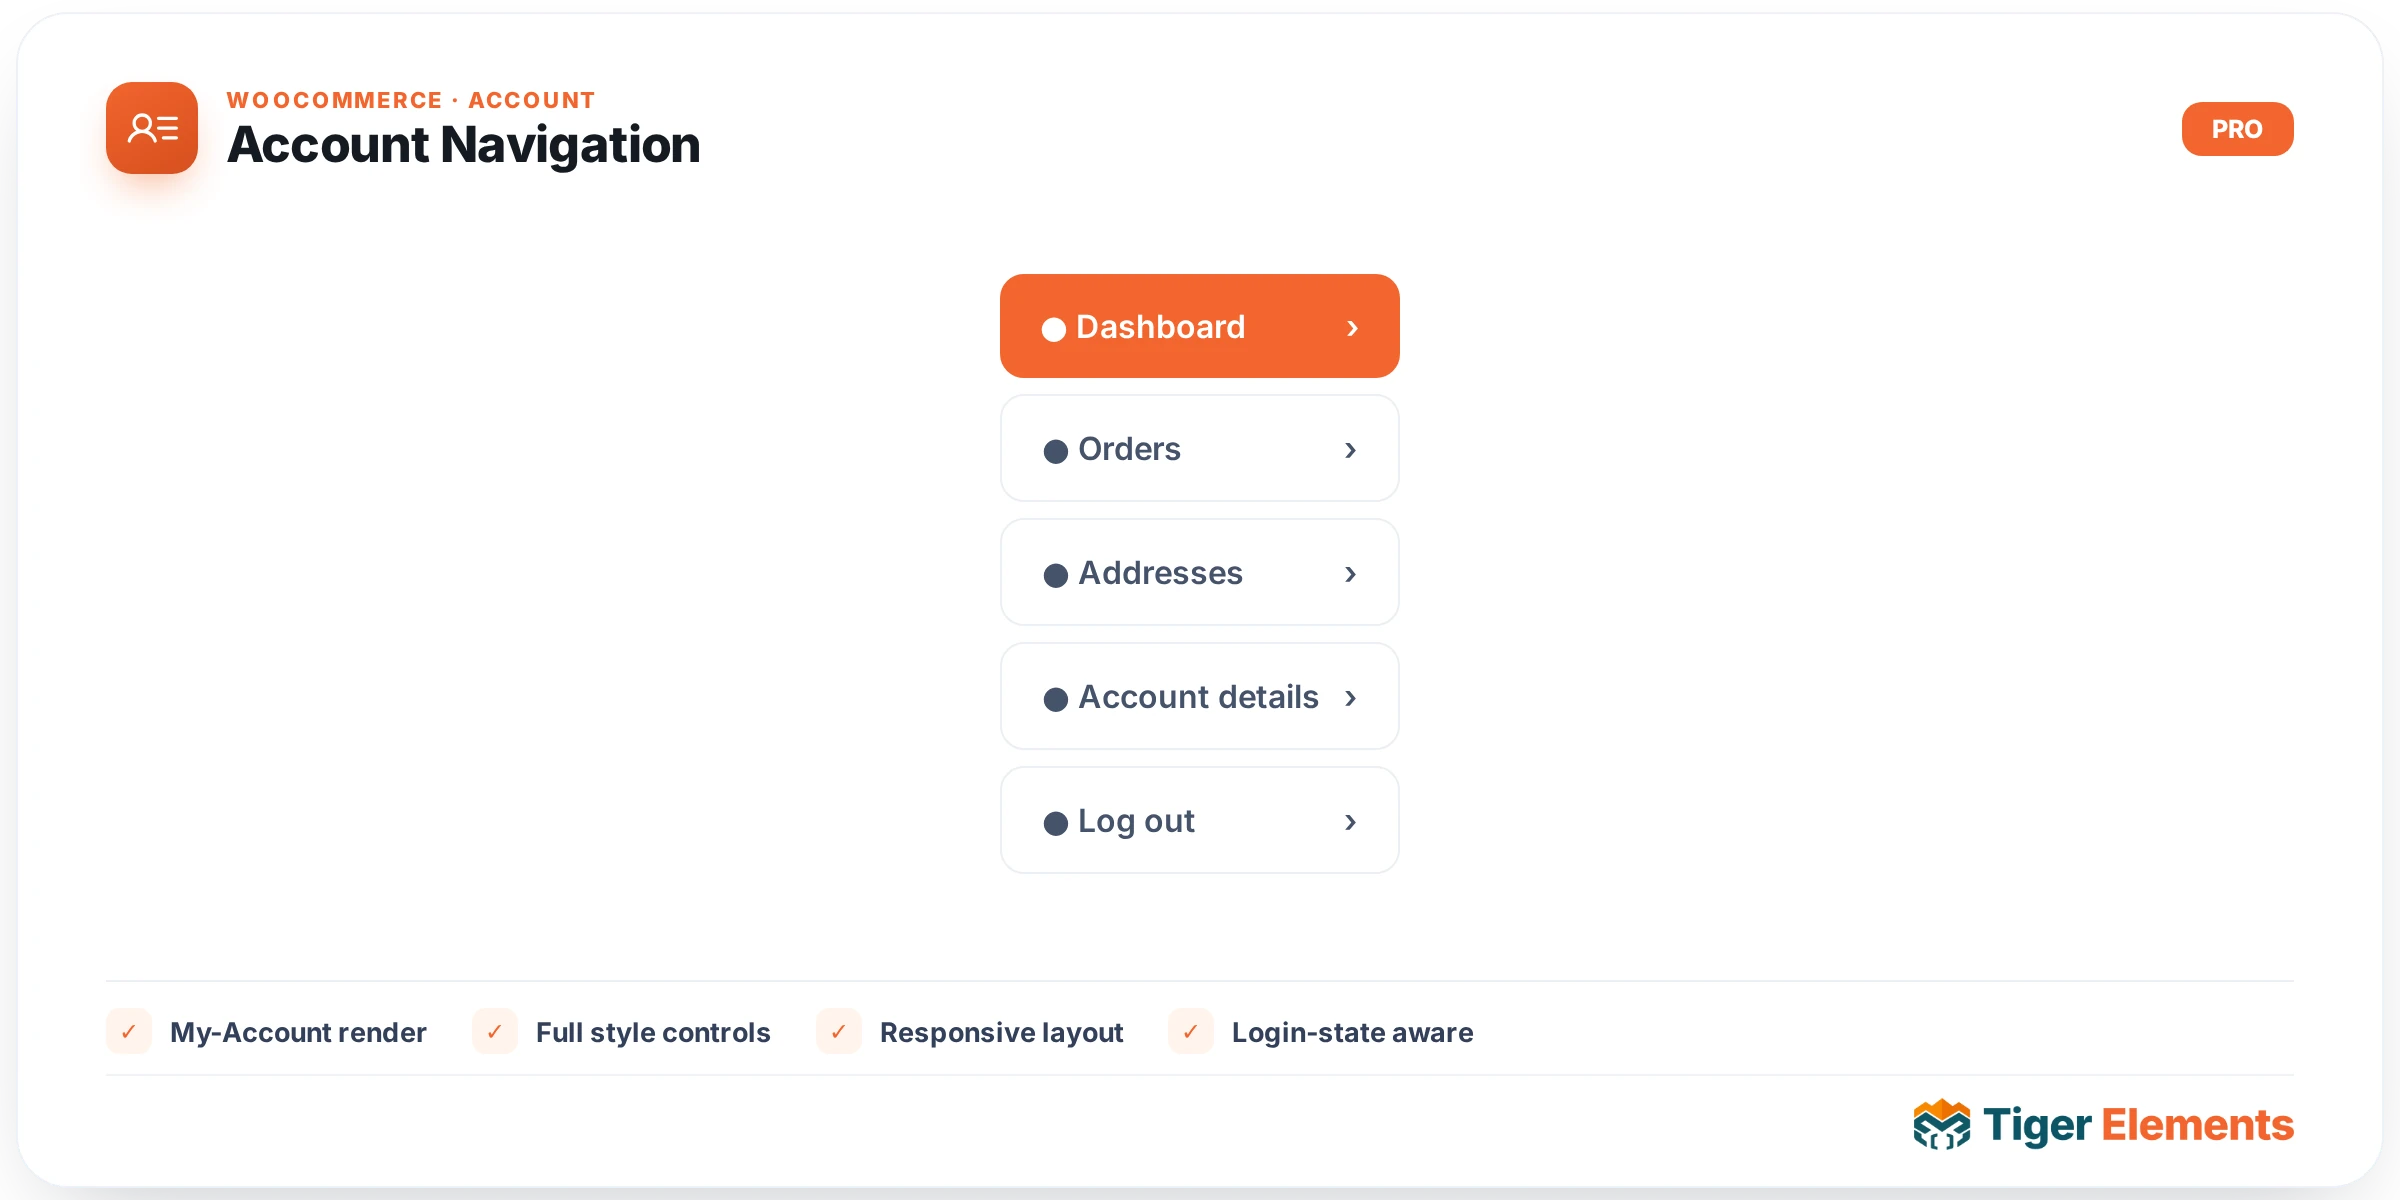
The Account Navigation widget renders the tab/menu bar that lets a customer move between the different sections of a custom WooCommerce My Account page — Dashboard, Orders, Addresses, Account Details, and Logout. Its render() method requires a logged-in visitor, then calls wc_get_template( 'myaccount/navigation.php' ), WooCommerce’s own navigation template, wrapped in a div carrying either tiger-woo-nav-v or tiger-woo-nav-h depending on the chosen layout. That template is what actually builds the list of endpoint links (via wc_get_account_menu_items() under the hood), so any menu items added or removed by other plugins hooking into WooCommerce’s account menu will automatically appear here — the widget itself doesn’t hard-code which links show.
Why it’s a separate widget
Every other widget in this family — Dashboard, Orders, Addresses, Account Details — renders only its own single endpoint’s content. None of them include navigation between endpoints on their own, so Account Navigation is the piece that actually makes a multi-section custom My Account page usable: without it, a customer landing on the Orders view would have no built-in way to get to Addresses or back to the Dashboard except editing the URL directly. It’s meant to be placed once, typically in a sidebar or top bar, on whatever layout or theme-builder template wraps all the account endpoint pages.
Setting it up
The Content tab has one control: Layout, a select between Vertical (default) and Horizontal. This only toggles the wrapper class (tiger-woo-nav-v vs tiger-woo-nav-h) — the actual flex/grid CSS that turns those classes into a sidebar list versus a horizontal tab strip lives in the plugin’s stylesheet, not in inline widget styles, so the visual difference depends on that CSS being loaded. The Style tab has its own dedicated “Style” section — separate from the shared “Fields” controls used by Login/Register and Account Details — with just two controls: Link Color, targeting .woocommerce-MyAccount-navigation a, and Active Link Color, targeting .woocommerce-MyAccount-navigation li.is-active a, which is the class WooCommerce applies to whichever menu item matches the currently viewed endpoint.
Non-obvious behaviour
The “active” state highlighting depends entirely on WooCommerce correctly detecting the current endpoint, which in turn depends on the page this widget lives on being properly wired into WooCommerce’s account endpoint routing (the same rewrite-rule dependency the Orders widget relies on for pagination). If a custom page structure breaks that detection, the Active Link Color will simply never apply, since li.is-active won’t be present in the markup — that’s a routing issue rather than something adjustable in the widget’s own controls. Because the “Logout” link is one of the items WooCommerce’s own menu-items function includes by default, it will appear in this navigation list automatically; there’s no separate control to add or remove it, though a plugin filtering woocommerce_account_menu_items can still customise the list globally.
When to use it vs. related widgets
Use Account Navigation whenever you’re assembling more than one of the WooCommerce endpoint widgets (Dashboard, Orders, Addresses, Details) into a custom My Account experience — it’s the connective tissue between them, not a standalone destination. It has no relationship to the site-wide Login Form or My Account router widgets in the separate tiger-account module; those operate entirely outside WooCommerce and have their own navigation concerns (or none, in the login form’s case). If you’re only placing a single endpoint widget on a page with no intention of linking to the others, this widget isn’t necessary.
Practical tips
- Confirm the plugin’s navigation CSS is enqueued (it should load automatically alongside the widget) if switching to Horizontal layout doesn’t visibly change the arrangement — the class toggle alone won’t do anything without that stylesheet.
- Test the Active Link Color specifically by clicking through each endpoint page, since it only appears correctly when WooCommerce’s endpoint detection is working — a good way to catch routing problems in a custom account page structure early.
- Because the menu items come straight from WooCommerce’s own filterable list, coordinate with any third-party plugin that adds custom endpoints (subscriptions, downloads, memberships) — those items will appear in this widget automatically once registered.
- Place this widget once per account layout template (e.g. in a persistent sidebar via the theme builder) rather than duplicating it on every individual endpoint page, to avoid maintaining multiple copies of the same styling.