
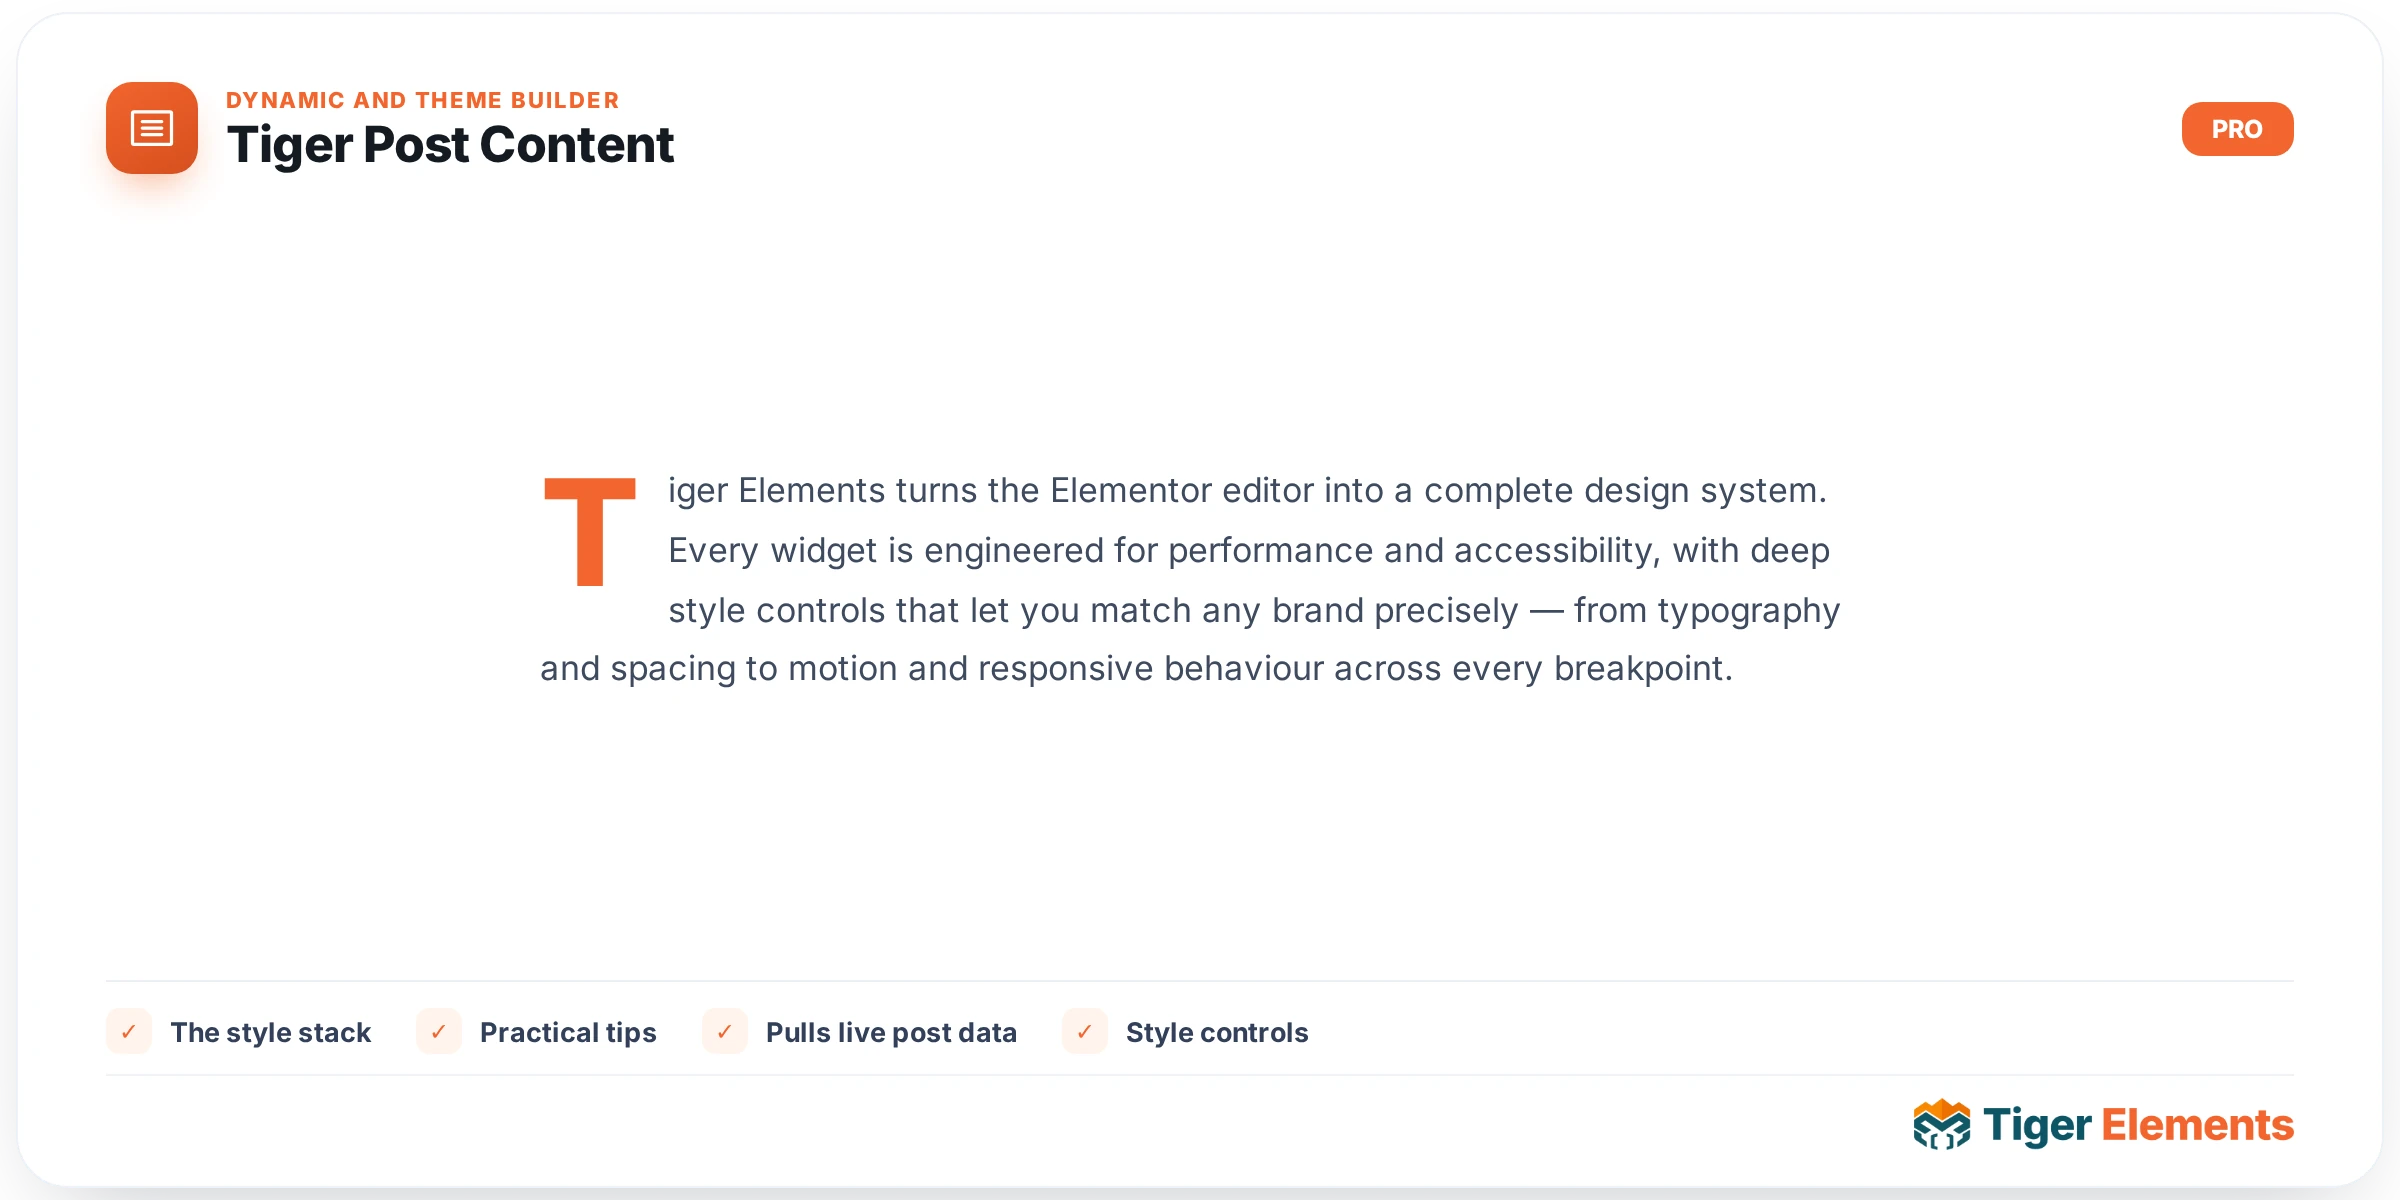
Tiger Post Content is the dynamic-content widget that drops the real, fully formatted body of the current post — or any post/CPT item in a loop — onto an Elementor template. Its reason for existing is right in the plugin’s own code comments: an earlier build of this widget stripped every HTML tag and printed plain text only, which meant headings, lists, blockquotes, images, shortcodes and embeds inside a post body all collapsed into a single wall of text. The current version runs the content through WordPress’s own the_content filter chain, the same pipeline core WordPress and Elementor’s stock Post Content widget use, so paragraphs, inline links, captioned images, embeds and shortcodes render exactly as they would on a normal single post template.
Setting it up
Drop the widget into a Theme Builder single template (or a loop item) and open its one content section, Content Settings. The Source control is a simple switch between “Excerpt” and “Full Content” (default). Choosing Excerpt does not run the manual-excerpt through any word-trimming logic — it just pulls the post’s post_excerpt field, and if that field is empty it silently falls back to the full post_content instead of showing nothing. This is worth knowing: if you expect a short teaser here, you need to have actually written a manual excerpt in the post editor, or use Character Limit instead.
The Character Limit field is where the real trimming behavior lives. Leave it at 0 (empty) and you get the full formatted HTML body. Set a number, and the widget switches modes entirely: it strips all tags from the raw content with wp_strip_all_tags(), truncates the plain text to that character count with an appended ellipsis, then re-wraps it with wpautop(). So Character Limit is not a “shorten the formatted output” toggle — it swaps in a completely different, plain-text rendering path. There’s also a Drop Cap switcher (styles the first letter of the first paragraph via a dedicated Drop Cap style section that only appears once the switch is on), and Before Text / After Text fields that prepend or append a small dynamic-tag-capable span outside the main text block — useful for a label like “Description:” or a manual “…Read More” affix. If either field is filled, a matching Before/After style section unlocks. Finally, Fallback Text (a textarea, dynamic-tag capable) is what renders, wrapped in a paragraph, whenever the post has no content at all — including when the editor is previewing a template with no real post context, where the widget instead shows a representative preview block (heading, link, list, blockquote) so every style control has something to demonstrate against.
The style stack
Because it’s rendering arbitrary rich HTML rather than a single text string, the Style tab is unusually deep for a Tiger widget: separate sections for Body Text (alignment, color, typography, text-shadow, paragraph spacing), Container (background, max-width, padding, margin, border, radius, box-shadow), Headings (color, typography, spacing below — targeting any h1–h6 inside the content), Links (color, hover color, decoration), Lists (color, indent, item spacing), Blockquote (text color, typography, background, an accent border with configurable color/width, padding), and Images (radius, border, shadow, plus separate caption color/typography for figcaptions and the classic .wp-caption-text markup). Every one of these targets the rendered content by CSS selector under a single wrapper class, so you’re styling whatever elements actually exist in that post’s body.
Tiger Post Content vs. Tiger Post Excerpt
These two widgets look similar but solve different jobs. Tiger Post Excerpt is purpose-built for teaser/loop cards: it has a real Word Limit control (default 30 words, capped at 200) that trims text word-by-word with a configurable Ellipsis, a dedicated Read More Link switcher with its own text, new-line, and full Normal/Hover button styling — none of which Tiger Post Content has. Tiger Post Content, by contrast, is built to render the complete formatted article body — including embeds, shortcodes and multiple headings — which the excerpt widget was never designed to carry (it strips to plain words). Use Tiger Post Content on a single-post template’s main body area; use Tiger Post Excerpt on archive/blog loop cards where you want a short, uniform teaser with a styled “read more” button.
Practical tips
- Don’t reach for Character Limit expecting a shortened but still-formatted preview — it fully strips tags first. If you want a trimmed teaser that still looks like a snippet of the article, use Tiger Post Excerpt’s Word Limit instead, which is designed for that.
- Setting Source to Excerpt only helps if the post actually has a manual excerpt saved. Since the widget silently falls back to full content when
post_excerptis empty, test against a post that truly has one before assuming the control is broken. - Because Headings, Links, Lists, Blockquote and Images styles all target descendant selectors, they apply to whatever markup happens to be in each post’s body — a post with no blockquotes just won’t show that styling anywhere, so preview against a content-rich post, not just the editor’s placeholder preview, before finalizing spacing and color choices.
- Drop Cap only affects the first paragraph’s first letter, and its style section is hidden until you switch Drop Cap on — remember to toggle it on temporarily while tuning colors/typography even if you plan to keep it off by default elsewhere.