
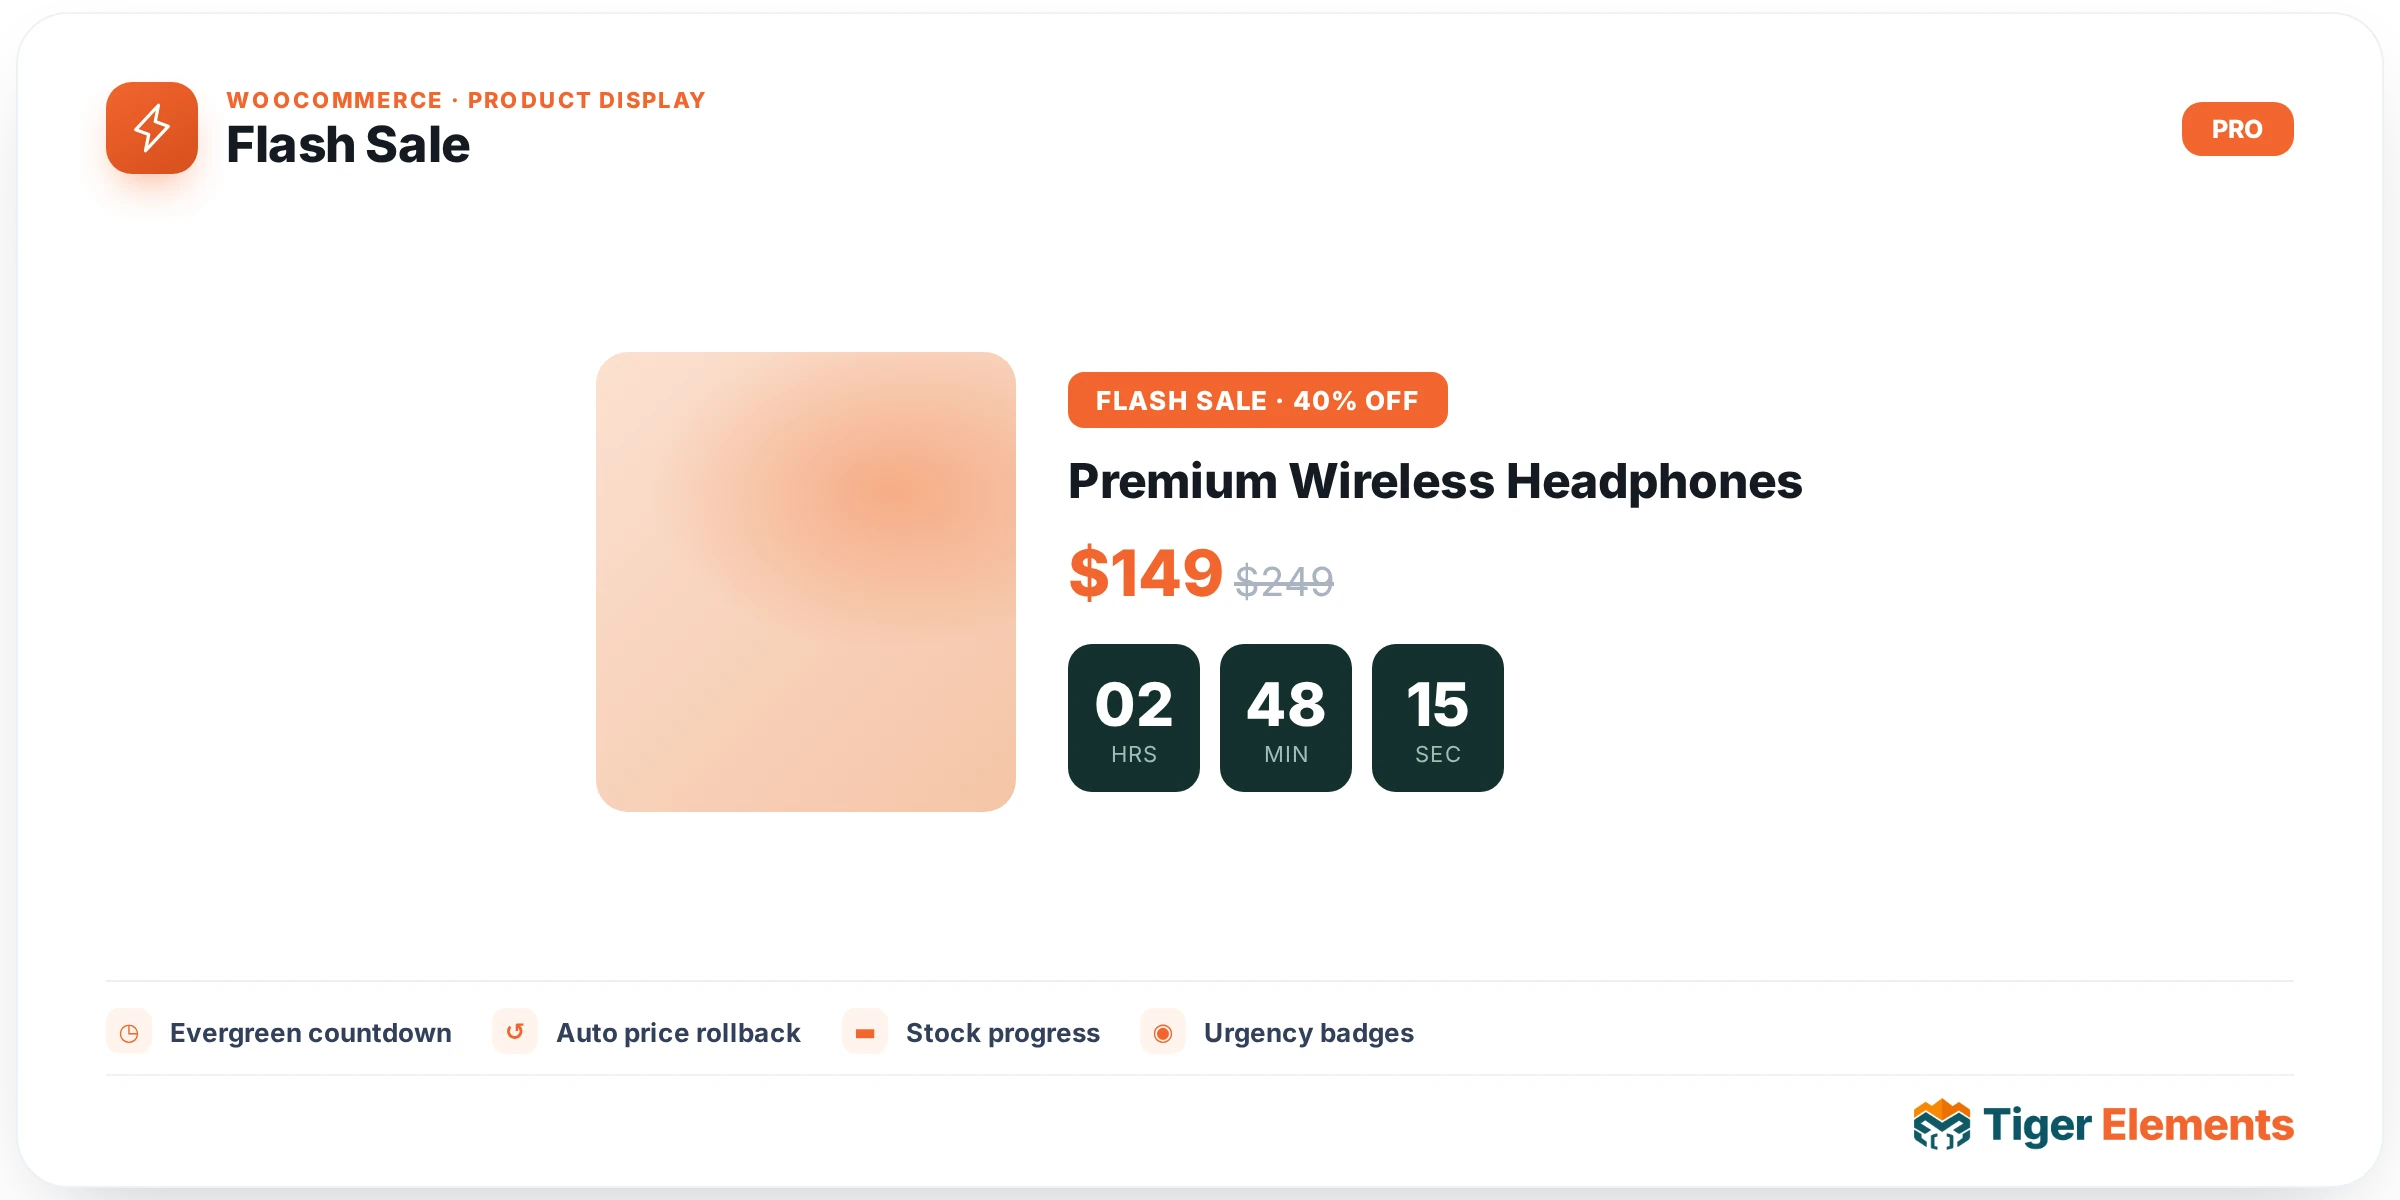
What the Flash Sale widget does
Flash Sale is a standalone urgency/promo banner widget, separate from the Thank-You order widgets family — it isn’t tied to a checkout or an individual order at all. Instead, it’s a conversion tool you place anywhere on your store (homepage, category pages, a dedicated landing page, a header hook) to create urgency around a sale by pairing a headline, subheading, and call-to-action button with a live countdown timer. It exists as its own widget because urgency banners have a distinct job from other conversion widgets like Order Bumps or an Upsell Offer widget: those work inside the purchase flow to increase order value, while Flash Sale works pre-purchase, on browsing pages, to push visitors toward checking out before time runs out.
What makes it more than a static banner is that its countdown can resolve automatically against your real WooCommerce sale schedule rather than requiring you to hardcode a date. The widget also ships its own dedicated CSS and JS assets, registered via get_style_depends()/get_script_depends() so Elementor only loads them on pages where the widget is actually placed — it doesn’t add weight to pages that don’t use it.
How to set it up
In the Content tab, the widget offers a Style preset select with four options — Gradient Pop, Bold Solid, Minimal Outline, and Neon Dark — controlling the banner’s overall visual theme via CSS. Heading and Subheading are dynamic-enabled text fields (default “Flash Sale” and “Hurry — limited time only!”) for your promo copy. The Countdown ends select determines how the timer’s end time is calculated: “Auto — next WooCommerce sale end” or “Manual date.” Choosing Manual reveals an End date & time date-time picker. A Show countdown switcher (default on) toggles whether the timer unit boxes render at all, and a separate Hide when the sale ends switcher (default off) controls whether the whole banner disappears from the live frontend once its end time passes. Finally, Button text (default “Shop the Sale”) and a Button link URL control (defaulting to your WooCommerce shop page permalink when available) configure the CTA.
In the Style tab’s Colors section, you get an Accent color control and a Text color control — both apply as CSS custom properties on the widget wrapper — plus a Typography group control for the heading text.
Non-obvious behavior
The “Auto” countdown source doesn’t read any Flash Sale-specific setting — it runs a WooCommerce product query for the soonest upcoming _sale_price_dates_to value across all published products (i.e., the nearest scheduled sale end date-time set in any product’s Sale Price dates), and uses that as the end timestamp. If no product currently has a scheduled sale end date, or WooCommerce isn’t active, the countdown resolves to zero and the timer units simply won’t render (since show_countdown requires a resolved end timestamp greater than zero). The actual visible countdown (days/hours/minutes/seconds) is calculated client-side by the widget’s own small JS file reading a data-tiger-flash-end timestamp attribute — the PHP only computes and embeds the end time once at render.
The “Hide when the sale ends” switcher only hides the banner on the real frontend once the resolved end time has passed — inside the Elementor editor, the banner always stays visible regardless of whether the sale has technically ended, so you can keep working on its design without it vanishing mid-edit. If a sale has ended and “hide when ended” is off, the banner keeps displaying with the timer presumably at zero (the JS shows an “ended” state text rather than negative numbers).
When to use this widget vs. related widgets
Reach for Flash Sale specifically when you want a self-contained, storewide urgency banner promoting a time-limited sale — it’s a marketing/display widget, not part of the checkout or order-received flow. It’s a good fit for homepages, category/archive pages, or a sitewide announcement area. Compare it to conversion widgets that live inside the purchase process, like an Order Bump or Upsell Offer widget, which nudge an already-committed buyer toward adding more to their cart at checkout — Flash Sale instead targets browsing visitors before they’ve committed, to accelerate the decision to buy at all. If you’re promoting one specific scheduled WooCommerce sale, “Auto” mode keeps the banner in sync automatically as you adjust product sale dates; for a marketing campaign not tied to product-level sale pricing (e.g., a coupon-based storewide event), use “Manual” mode instead.
Practical tips
- If you rely on “Auto” mode, make sure at least one product has its WooCommerce Sale Price schedule (“Sale price dates to”) filled in — otherwise the countdown silently resolves to zero and no timer unit boxes will show.
- Turn on “Hide when the sale ends” for genuinely time-boxed campaigns so the page doesn’t keep displaying an expired promotion to visitors after the fact; leave it off if you’d rather show an “ended” state and swap the copy manually.
- Use the Manual date option for evergreen or campaign-specific promotions that aren’t literally tied to a WooCommerce product sale schedule, since Auto mode only looks at real product sale-end dates.
- Because the countdown numbers themselves are rendered by client-side JS from a single embedded end timestamp, don’t expect server-rendered/cached HTML to show a “live” number in view-source — the ticking happens in the browser after load.