
What the Order Bumps widget does
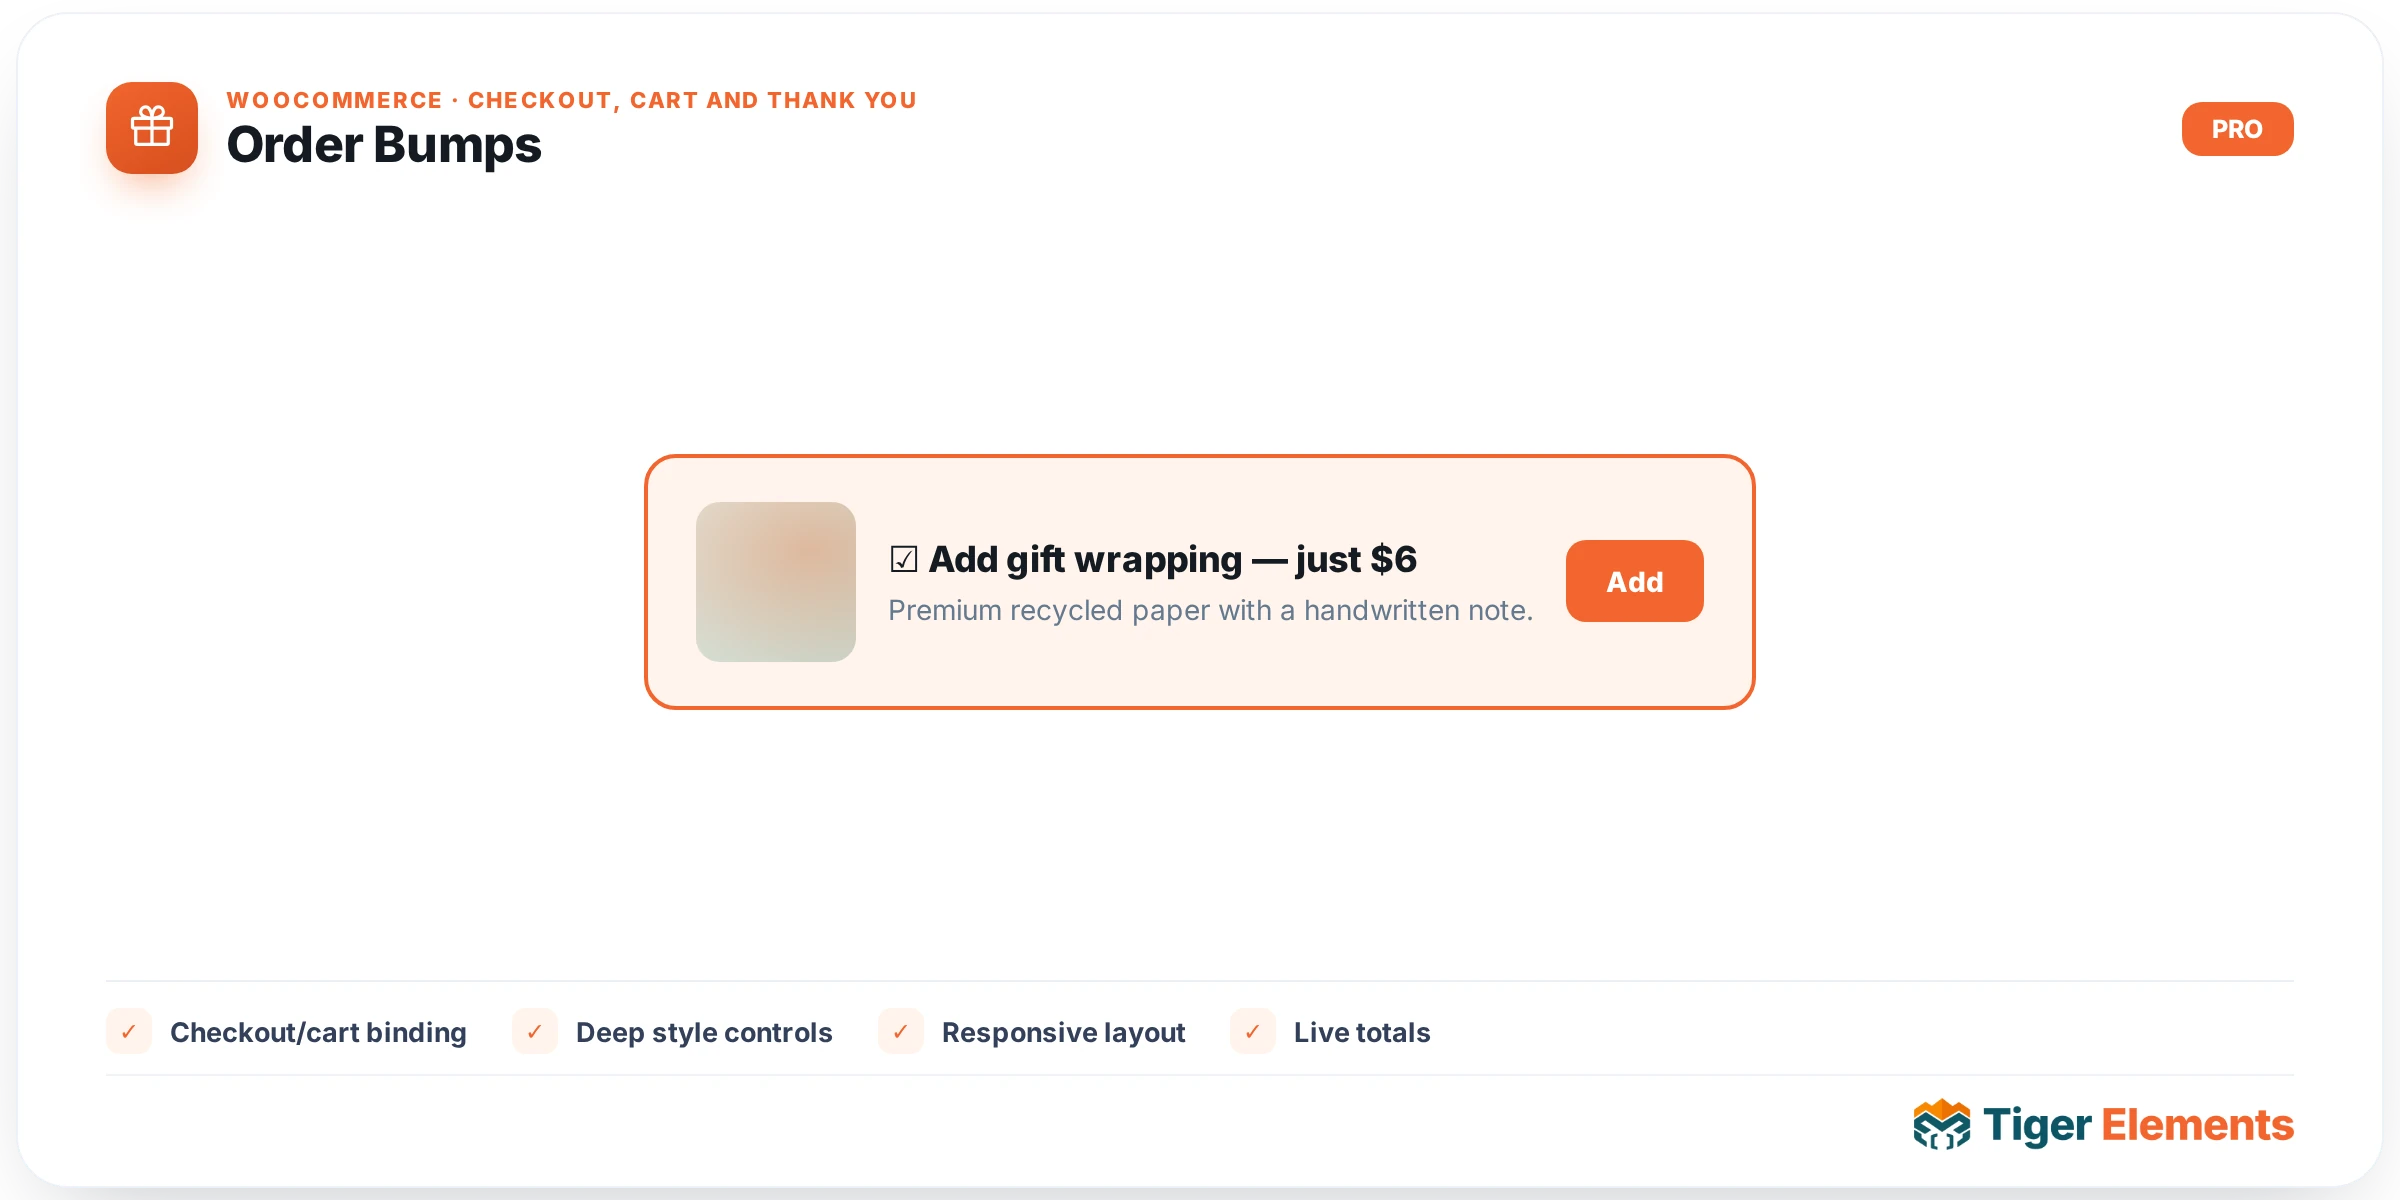
Order Bumps is a display widget: it takes the low-friction “add this to your order” offers you’ve configured elsewhere and renders them as checkable cards at a chosen spot on the checkout page. It’s deliberately split into two pieces. The actual offers — which product to bump, what discount to apply, which cart contents trigger them, and how they look — are created and managed on a dedicated admin screen backed by a custom post type (tiger_order_bump, registered in woo-builder/php/tiger-woo-order-bumps.php and surfaced under the Tiger admin menu as “Order Bumps”). The Elementor widget itself only decides where eligible bumps get displayed on the page. This separation means the same set of bump offers can be shown consistently across every checkout page/template you build, while each page only needs one small widget instance with a position setting.
How to set it up
First create the offers themselves: in wp-admin, add a new Order Bump post. The Offer metabox lets you pick the Bump Product (a live product search), a Discount type (none, percentage off, fixed amount off, or an override price) and value, a Headline, a Description, and the Accept Checkbox Label text shown next to the price. The Display Rules metabox controls eligibility: “Show when cart contains” can be Any product (always eligible), Specific products, or Products in categories, plus an optional Minimum Cart Total and a Position (Before payment methods / After payment methods / Above order review). A Design metabox lets you set background/border colors and toggle an arrow icon or a pulsing attention animation per bump.
Once offers exist, drop the Order Bumps widget onto your checkout page. Its only content control is Show bumps with position, a select with four options: Before payment, After payment, Above order review, or “All eligible (ignore position)”. Set it to match the Position value you chose on each bump — or use “All eligible” if you want a single widget instance to render every eligible offer regardless of its configured position, useful if you’re stacking bumps in one block rather than spreading them across the page.
Non-obvious behavior
Eligibility filtering happens live, per cart: the widget calls Tiger_Woo_Order_Bumps::get_eligible_bumps($position), which evaluates each bump’s trigger rules (product/category match, minimum total) against the current cart contents on every page load. A bump you configured for “Products in categories” simply won’t render at all if nothing in that category is currently in the cart — there’s no manual toggle to force it visible on the front end.
Accepting a bump is handled by AJAX, not a page reload: checking the box fires a request to wp_ajax_tiger_woo_toggle_bump, which adds or removes the bump product as a cart line item (tagged with meta _tiger_bump_id) and triggers WooCommerce to repaint the checkout review/payment/total fragments so the order summary updates instantly. Bump line items are also locked to quantity 1 and get a custom “remove” link, and the configured discount is applied via woocommerce_before_calculate_totals rather than by editing the product’s actual price — so your regular product pricing and reports are never touched.
In the Elementor editor, if no bumps are eligible for the (often empty) preview cart, the widget shows a placeholder note explaining that bumps will appear on live checkout rather than rendering nothing silently — but on the real front end with no eligible bumps, it renders nothing at all so it never leaves an empty box in the layout.
When to use this widget vs. related widgets
Order Bumps is for small, low-friction, inline add-ons presented as a checkbox next to items the customer is already buying — think “add gift wrapping for $4” right before they click Pay. It’s not a place to promote a completely different, higher-consideration product; that’s the Upsell Offer widget’s job, which shows a single distinct product with its own accept/decline buttons, typically on a dedicated post-checkout offer page reached via a funnel URL rather than inline during checkout. If you’re deciding between the two: bumps are cheap, impulse, one-click additions during the buying decision; upsells are a separate pitch made after the customer has already committed to their order. Use Order Bumps for cross-sell-style extras tied to what’s already in the cart, and reserve Upsell Offer for a dedicated, higher-value pitch.
Practical tips
- Set Minimum Cart Total conservatively — a bump that requires a high cart total to appear will rarely show, which can make it look broken when it’s actually working as configured.
- Keep the Headline and Accept Checkbox Label short; the card is a compact checkbox row, not a product page, and long copy wraps awkwardly.
- Use the “All eligible (ignore position)” option only when you deliberately want one consolidated bump block; otherwise match each widget instance’s position setting to the Position value set on the bumps you want it to surface, or bumps configured for other positions simply won’t appear there.
- Because discounts are applied via cart calculation rather than product price edits, bump pricing changes take effect immediately for new carts without needing to resave products — test a discount change with a fresh cart rather than an already-loaded one.