
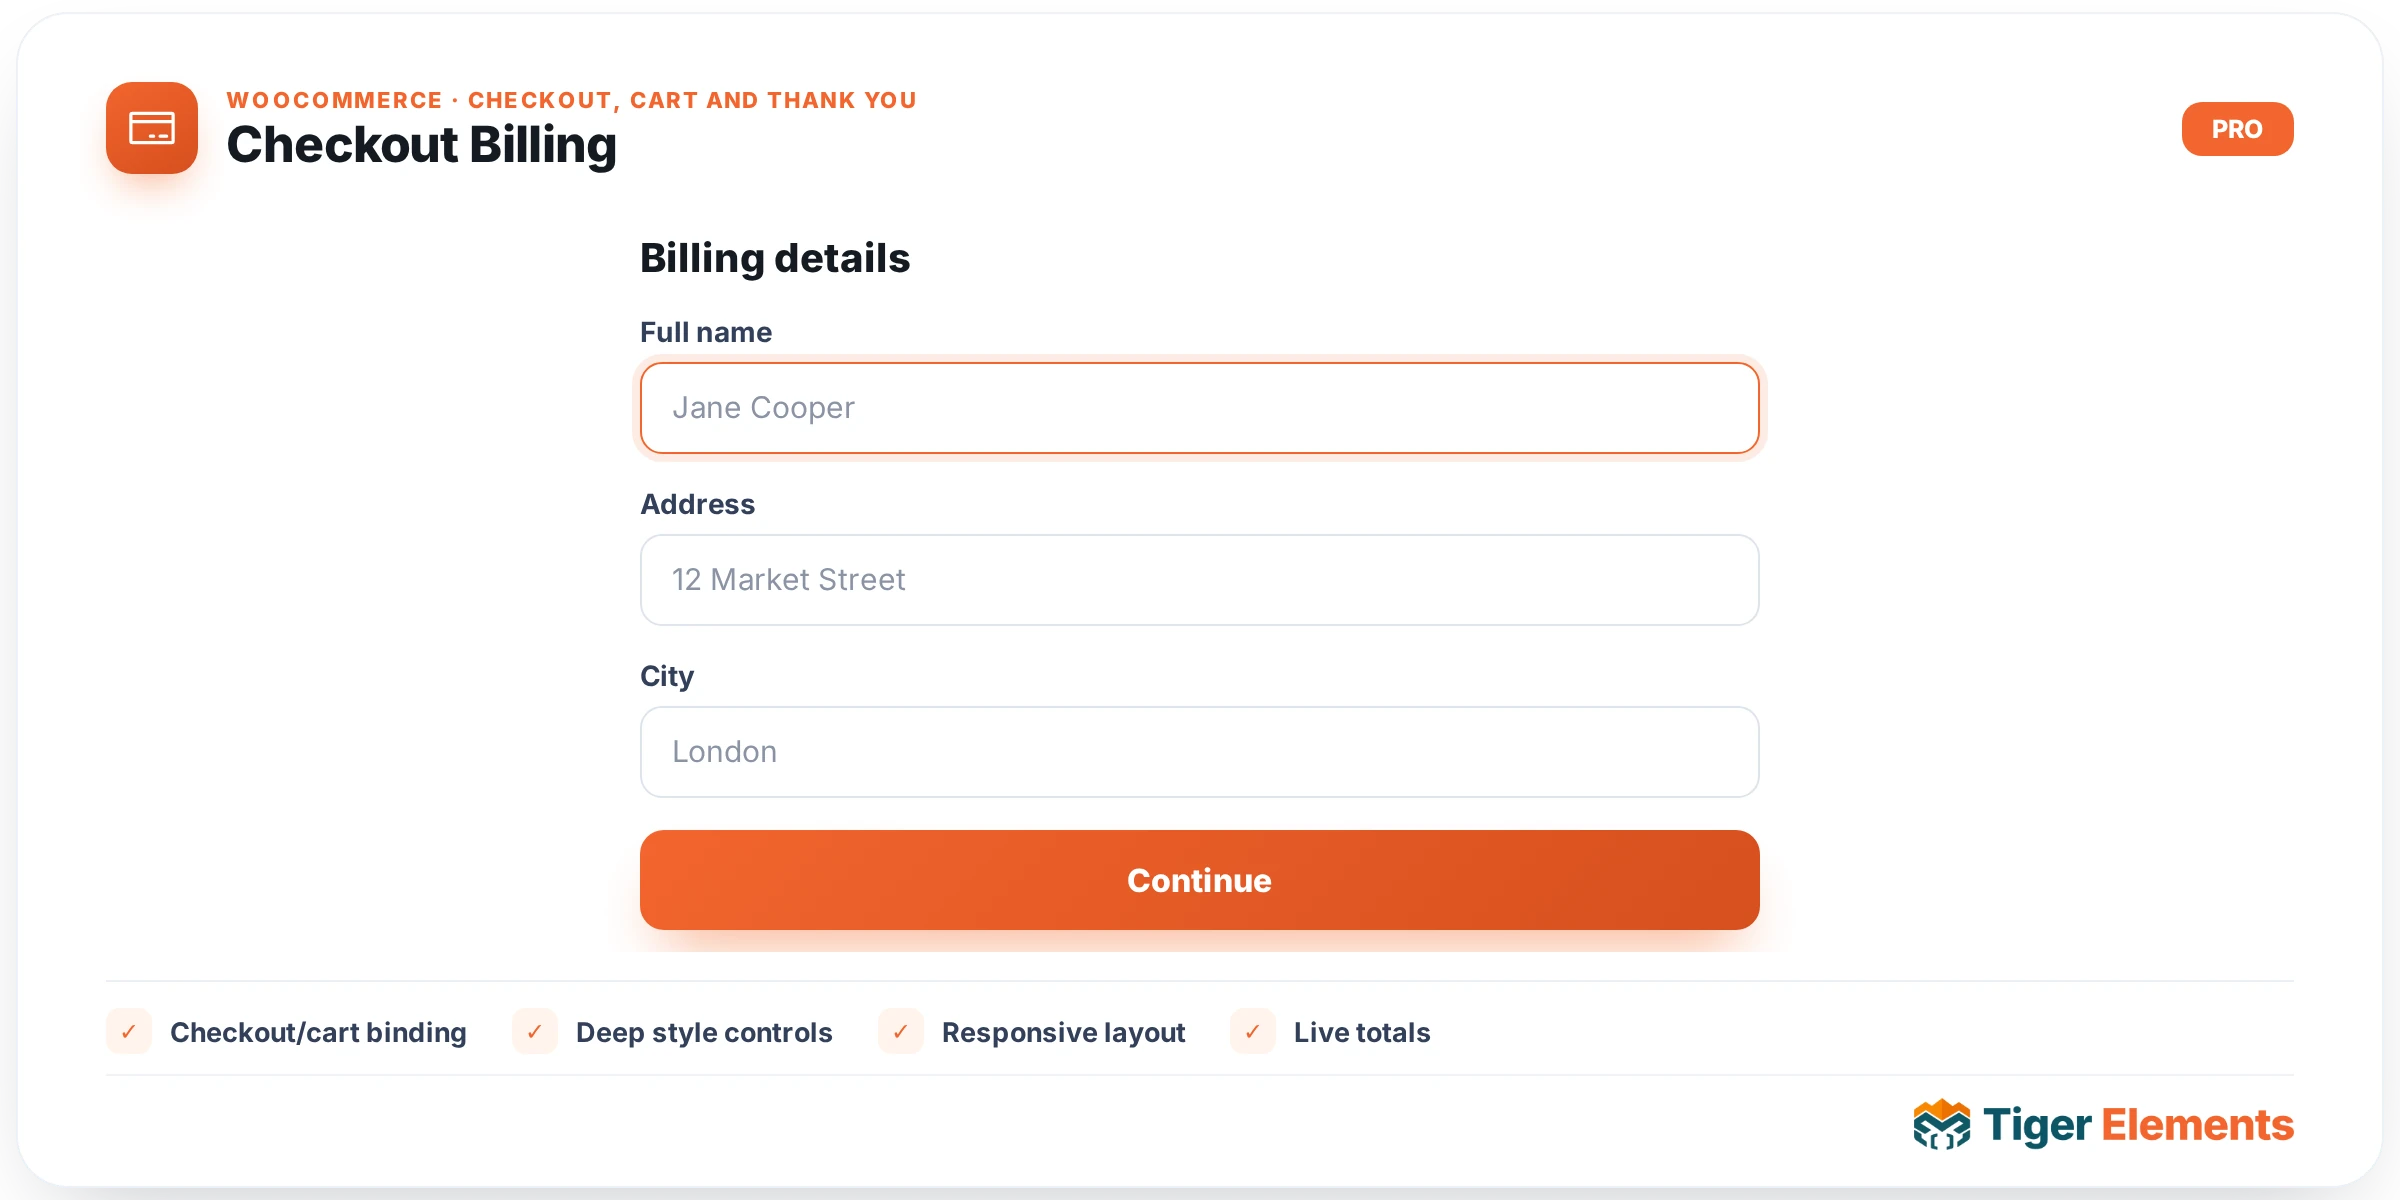
What Checkout Billing Does
Checkout Billing is a single-purpose Elementor widget that renders only the billing fieldset of the WooCommerce checkout page — name, address, email, phone, and any custom billing fields registered by the store or by other plugins. It exists because the default WooCommerce checkout template glues billing, shipping, payment, and order review into one monolithic block. That works fine for a store using the stock checkout page, but it falls apart the moment someone wants a custom two- or three-column layout, a tabbed checkout, or a design where billing sits in a card on the left while the order summary is pinned on the right. By isolating the billing fieldset into its own widget, Tiger Elements lets a builder drop it into any column, any section, any position on the page, and combine it freely with the companion Shipping, Payment, and Order Review widgets to assemble a fully custom checkout layout without touching a line of template code.
Setting It Up
The Content tab is intentionally small. A Heading text control lets you set the label shown above the fieldset (it defaults to “Billing details” and supports Elementor dynamic tags, so it can pull from a translation string or a dynamic source). A Show Heading switcher lets you hide that label entirely if your design uses a section title elsewhere on the page instead. When the heading is visible, a dedicated Heading Style section on the Style tab exposes a color control and a full typography group control scoped to the heading element only, so it can match the rest of your custom checkout page’s type system.
Below that, the widget pulls in the shared Fields style section from the base checkout widget class — label color, label typography, field background, field text color, field border color, responsive field padding, and a field-radius slider. These controls target the actual WooCommerce markup (input.input-text, textarea, .select2-selection, and .woocommerce-form__label) so every text input, dropdown, and label inside the billing block reflects your design without custom CSS. Because this same Fields section appears on the Shipping widget too, styling both is a matter of copying the same values across.
It Renders WooCommerce’s Own Template — Not a Rebuild
This is the detail that matters most for anyone troubleshooting or extending this widget: it does not reimplement the billing form. Internally it bootstraps WC()->checkout() so WooCommerce’s field definitions are available, then fires the real woocommerce_checkout_billing action — the exact same hook the classic checkout page fires. That means every filter a store or plugin already has in place, most commonly woocommerce_checkout_fields, still runs untouched. If a plugin adds a custom “Company VAT Number” field to billing, or a theme conditionally hides the address-2 line, or a compliance plugin injects a required checkbox into billing, all of that keeps working exactly as it does on the native checkout page. Field validation, required-field enforcement, address autocomplete/Google Places integrations, and country/state dependent field logic are all handled by WooCommerce core — this widget only decides where on the page that native output appears and how it’s styled.
Billing vs. Shipping vs. Payment vs. Order Review
The four checkout widgets map directly onto WooCommerce’s own conceptual split of the checkout page, and understanding that split is the key to composing a custom layout correctly. Billing collects who is being charged and where the invoice goes; it is always relevant since every order needs a billing address. Shipping collects where physical goods should be delivered, and the companion Shipping widget automatically hides itself when the cart contains only virtual or downloadable products that need no shipping address — you don’t need conditional logic in Elementor to handle that case. Payment presents the available gateways and the Place Order button that actually submits the form. Order Review shows the cart contents, totals, taxes, and shipping method chosen, and is commonly configured to stick to the viewport on desktop so it stays visible while a shopper scrolls through billing and shipping fields.
A typical two-column custom checkout built from these four widgets puts Billing and Shipping stacked in the left column, Payment underneath them, and Order Review pinned in the right column. Because each widget renders independently but shares one underlying WooCommerce checkout form, the browser still treats the whole page as a single checkout form and one submission — the visual rearrangement doesn’t change the underlying form structure at all.
Practical Tips
- Since Billing and Shipping share the exact same Fields style controls, style one first, then copy the label/field colors and padding values to the other widget instance so the two fieldsets look like one cohesive form even though they live in separate Elementor widgets.
- If your store sells only virtual/downloadable products, drop the Shipping widget from the layout and give Billing the full column width — WooCommerce’s own “ship to billing address” logic still applies internally.
- Use the Heading Style typography group rather than a separate Elementor Heading widget above Billing; the heading then hides/shows with the Show Heading switcher and stays scoped to this widget’s wrapper.
- Test with a field-adding plugin (address autocomplete, VAT/tax ID, age verification) active before going live — since the widget fires the real
woocommerce_checkout_billinghook, third-party fields appear automatically and you’ll want to confirm they fit your column width.